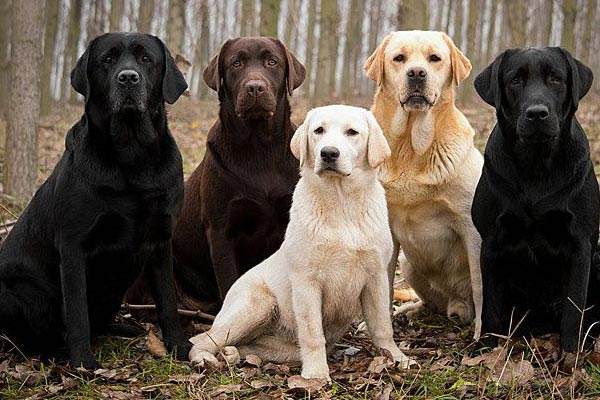
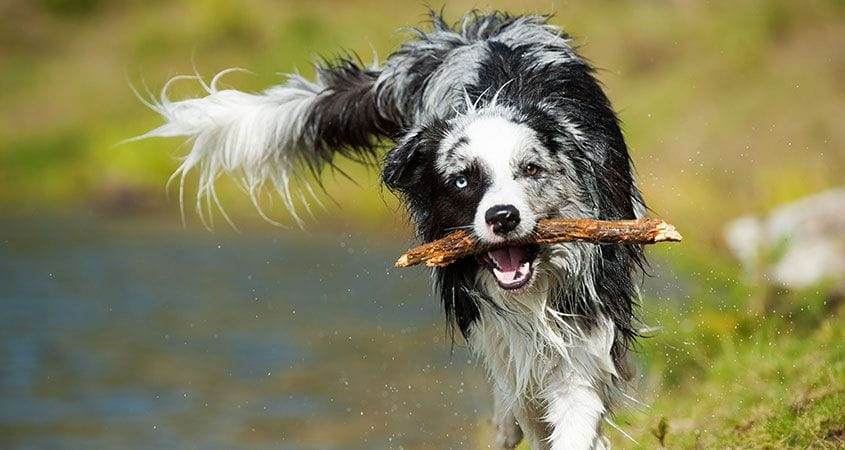
A Retriever is not a retriever at all if it is unable to mark a fallen game. Therefore, “Marking” ability is considered as one of the most crucial parts of hunting. However, while focusing on sharpening the marking abilities of their Retriever, people often make the grave mistake of ignoring other aspects of their training. One of those important aspects is their Retriever’s overall behaviour.
So, here are some crucial questions you must ask yourself before you plan to train your Retriever for a hunt test.
- What is it that you need to keep in mind while training your dog for hunt tests?
- How can you ensure that nothing goes wrong during the tests?
- And last but not least, how can you sharpen your dog’s marking skills to ensure that they are competent enough to pass the field trials?
If you wish to find the answers to these questions, pore over the whole article.
Definition of Marking
To pass a field trial or hunt test, your Retriever needs to identify the point where the game had fallen down. Before going through it in detail, certain confusions need to be cleared at the outset itself.
People often confuse the term “Marking” with “Finding.” Consequently, they often tend to use these two terms, interchangeably. However, there are considerable differences between the meaning of these two words.
One must note that “Marking” does not merely mean finding the whereabouts of the hunt or game. If that was the case, there would be no difference between Retrievers and other dog breeds.
The argument is that eventually, all dogs will be able to find the hunt or game with the help of their nose. However, “Marking” requires a dog to watch and identify the place where the hunt or game fell down and rescue it before it ultimately cripples.
“Finding” can be defined as a “trial and error” method while “Marking” is a systematic process where there is no place for distractions or mistakes.
As far as the drills are concerned, they are for enhancing the skills which are already present in your dog. It is like making your dog familiar with themselves and their capabilities. There is nothing unusual about these pieces of training. And most importantly, there is no use of negative reinforcements in these drills.
Expectations From Your Dog During The Hunt Test
To win a hunt test, you need to focus on the following three aspects of your dog’s training:
- Behaviour: When you start training your dog, focus on their behavioural training first. While preparing their dog, people often tend to devote their entire focus and energy on the drills. Consequently, the behaviour part of their dog’s training often gets neglected. However, the reality is that if you dedicate considerable time on your dog’s behaviour and keep it in line with your expectations and commands, half the work is done.
- Drill Distances: In an American Kennel Club hunt test, the longest distance a dog needs to cover for a retrieve is approximately 91 metres for Juniors and 137 metres for Masters and Seniors. If you observe someone training their dogs for longer retrieves, then they are definitely preparing their dogs for field trials and not any Hunt Test.
Now that you are clear about the goals to be achieved by your dog during hunt tests or field trials, you need to focus on the training part.
Initiate your dog’s Marking Training with a shorter distance, say 22 to 32 metres. Do not go for the longer distances at the time of initiation itself. If you do so, you are asking for failure at your doorstep. Your dog won’t be able to focus on the longer throws if it has not become accustomed to shorter distances.
Once your dog has gained enough experience in marking shorter hunts, start widening its horizons and raising the difficulty levels. - Kinds of Throws: During the hunt test, your dog will have to face three varieties of throws, namely:
- Flat-middle
- Angle-back
- Angle-in
This article will deal with all the throws mentioned above to improve your Retriever’s marking abilities. As you apply the drills mentioned in this article, you will notice your dog’s strengths and weaknesses. Your dog may excel at one type of throw while it may struggle to cope up with another kind of throw. Keep practising to enable your Retriever to excel in all types of throws and therefore, increasing the probabilities of winning ribbons at the AKC Hunt Test.
Inculcating the Basic Skills
To advance your dog’s marking skills, you have to make the foundation strong. Focus on skills like steadiness, memories and handling at the early stage. Do not indulge your dog in excess marking. Otherwise, your dog will become unsteady, easily excitable and self-dependent. It won’t depend on you for instructions while marking. And you definitely don’t want that during the hunt test. Keep the marking part small during the drills and focus on building skills like memories and handling to nurture a relationship of interdependence between you and your dog.
Following are the primary skills you need to strengthen to enhance your Retriever’s Marking abilities:
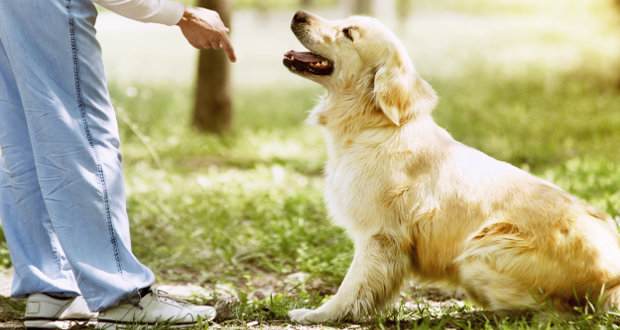
- Concentration or Focus: You can start working on enhancing your dog’s focus and attention from the puppy stage itself. Feeding time is the ideal time to begin such sessions of improving their concentration as you will be able to gain its full attention. Call your dog and show the bowl of food to them. Look into their eyes and hold your dog’s gaze as you keep the bowl before them. Use a release word, say “OKAY,” to allow your dog to have the food. Make sure that they go towards the bowl only after you have allowed them to do so. Otherwise, begin the process all over again. As your dog gradually becomes used to this process, you can extend the time for release.
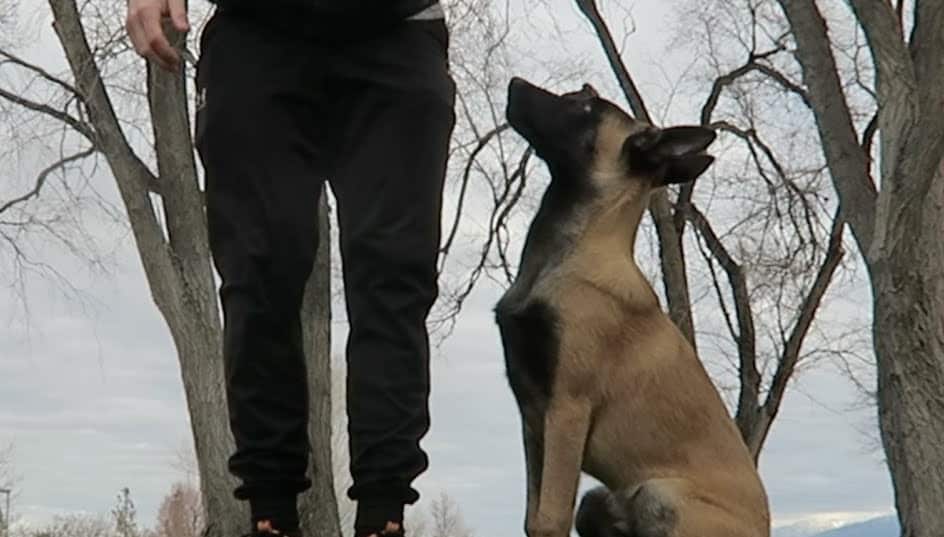
- Steadiness: It is one of the crucial factors to be taken into account during the whole marking process. Make sure to not excite your dog too much at the home position before the shot. Otherwise, it won’t be able to mark the next retrieves. Teach him to remain calm and pay attention to the throws. You can employ the following two methods to make your dog steady during the marking exercises:
- Delay: This method is the same as the one you have applied during your dog’s feeding sessions. All you need to do is teach your dog to wait before you command him to retrieve the bumper you have thrown. Like the feeding sessions, you need to make this waiting period small at the initial stage and then gradually extend it to a minute or so.
- Deny: Once your dog becomes obedient enough to go for retrieve only when you have commanded it, begin the denial sessions. You can do it by either making your dog observe another dog going for retrieve or you can do some retrieves yourself.
Single Marker Training
Once you enhance your dog’s fundamental skills, begin with small and straightforward single marking drills. Find an open field or a spacious place to start the marking training. Gain your dog’s attention and throw a white bumper at a distance not too far from your dog. Once your dog is successful in retrieving the bumper, increase the stretch by moving out approximately 13 metres. Repeat the drill by throwing the bumper in such a way that it lands directly in front of you. If your dog misses the point, repeat the same process unless your dog becomes accustomed to the new distance. Once your dog achieves success in retrieving the bumper, increase the length further.
To raise the difficulty levels of single marking, shift your dog to a place with lots of fences, ditches and other hurdles. Do not forget to delay and deny retrieves. Otherwise, your dog will become too much excited and lack essential qualities like steadiness during the retrieve.
To increase your dog’s concentration or focus, train your dog at a place with lots of sounds. For example, training in water bodies can teach your dog to retrieve amidst splashes of water. Woodlands is another example of an ideal place for training your dog in single marking. The sounds of birds, animals and other creatures will further alert your dog’s senses and allow it to dedicate its full focus on the retrieve.
Once your dog gets accustomed to longer distances, change the angle of your position, each time your dog returns to you after a successful retrieve. You can also alter between shorter and longer distances to advance your dog’s single marking skills.
Doubles- Initiation to Marking
Once your dog has become accustomed to the single marking drills, move to doubles. Command your dog to sit and be ready and steady to watch the next throw. However, if your dog is stable enough with the single drills, you don’t need to wait much for the second throw.
Begin your dog’s double marking training with two simultaneous throws at an angle that is 180 degrees towards one another. Once your dog gets accustomed to the fact that there will be more than one bumper falling on the ground, it will start focusing on multiple bumpers and try to retrieve both the bumpers when they land on the spot.
Advanced Marking Training For Retrievers
Once your dog becomes steady enough to successfully mark and retrieve more than one bumpers, start increasing the difficulty levels. Here are two different advanced level drills to enhance your dog’s marking abilities and enable it to meet the standards of the AKC Hunt Test.
Y-Drill
One of the most notable features of this drill is that it enhances your dog’s awareness of the fact that someone is present at the field and that person has hunted a bird. Once your dog’s senses become sharp enough to detect this fact, it can go to the mark immediately.
You can take the help of a partner or just do this drill yourself. If you choose the latter option, then you need to make your dog learn the “HOME” command. Once your dog has learnt the call, make it follow that command between 27 to 47 metres. If you don’t like the “HOME” command, then teach your dog to learn and follow the “KENNEL” or “PLACE” call. Whatever command word you choose is right as long as you use it to send your dog to the starting or home position after each retrieve.
Command your pooch to go to the “HOME.” This point will serve as the line or the starting point. Make sure that you don’t go much far away from your dog. 17 to 23 metres is the ideal distance for your standing position.
Ensure that your dog stays still before each throw by commanding your dog to “SIT.” You can choose to reinforce your command by putting an e-collar around dog’s neck and adding a nick each time you command it to sit.
Reinforcing your command is necessary because your dog may start running for the retrieve before you even turn your head. And you definitely don’t want that because you want the whole retrieving process to be under your control.
- Angle-back throw: It will be the first throw of this drill. Do not make the throw too long. 13 metres will do just fine. Once the bumper has landed, command your dog to retrieve the bumper. Call your dog to reach you after it has successfully recovered the bumper. Make it deliver the bumper in your hand and then command it to go to “HOME.”
- Flat-middle throw: It will be the second throw of the drill and in a direction that is opposite to your last throw. Do not forget to command your dog to sit before you go for the second throw. You can use any command like “SIT” or “MARK” to enable your dog to get ready and steady. However, be consistent with that particular command. Otherwise, your dog will get confused and won’t know how to react.
Once your dog has successfully retrieved the bumper, call him back and make it to deliver the bumper in your hand. Command him to go to the home position before you go for the last throw of this drill. - Angle-in throw: Make your dog ready for the final throw by commanding it to “SIT” or “MARK.” Ensure that the alignment of this throw is different than the “Angle-back throw.” You may think that being the shorter version of the “Angle-back throw,” it is easier for your dog to go for this retrieve. However, the reality is precisely the opposite. And because of this very reason you need to make the alignment of this throw different from the first throw. Once your dog becomes accustomed to this entire drill, you can slowly bring the position of the first and the third throw on the same line.
- Advancing the Y-Drill
As your Retriever gets used to the shorter throws, you can start raising the difficulty levels by increasing the distance and adding different obstacles. Begin with 32 metres and then eventually go for longer distances. Don’t go beyond 47 metres if you are preparing your dog for the hunt test. It won’t be necessary as the maximum length your dog have to cover during the hunt test will be approximately 97 metres. Consequently, the first throw of this drill (Angle-back) will be of only 47 to 57 metres. - Some Concluding Statements on the Y-Drill
Once you have thrown the bumper, let your dog do its job on its own. Direct it during the drill only when you consider it necessary. For example, you can guide your dog to go to the correct direction if it by any chance goes to the direction of the previous retrieve. However, you must remember that you have to direct it to the area and not the prey itself. The goal is to make your dog understand that the previous throw was shorter than the present one.
As far as the set up of this drill is concerned, you will find it really convenient. The fact that the retrieves of this drill are of shorter distances will help you to get done with it quickly. Consequently, you won’t have to worry about dedicating some extra time for your dog’s training.
Walking Crows Foot Marking Training
To apply this drill, you need to have two or three partners to play the role of the thrower. You can also work on this drill with only one person as your partner. Just make sure that the number of throwers is more than one. As you work on this drill regularly with your partner and his Retriever, your dog will be motivated to remain steady before the throw. Besides that, it will compel your dog to rely on its memory and try looking for places different than the previous throws. Consequently, your dog will become aware of multiple throws despite your partner throwing only singles.
If you wish to prepare your dog for real hunt tests, make sure your partner carries a popper. Make him stand 47 metres away from the starting point. If your dog is young, ask your partner to throw the bumper downwind to make the retrieve easier. Conversely, if your dog is experienced enough, then make the throw pattern tighter. Besides that, make sure you don’t use many commands during the retrieve. The only word you can use is “MARK.”
- Flat-middle throw- It will be the first throw of this drill. Make your partner throw the bumper and command your dog to “SIT” or “MARK,” once the bumper has landed. As your dog start returning with the retrieve, your partner should reach the landing spot quickly and get ready for the next throw.
- Angle-in throw: It will be the second throw of this drill. Make your dog pay attention to the throw and command it to mark. Once your dog is successful in retrieving the bumper, ask your partner to reach the landing spot of the bumper.
- Angle-back throw: It is the last throw of this drill. Follow the same process again, and be consistent with the command to make your dog successfully mark the final throw of this drill.
Conclusion
Practice and Consistency are the two primary keys to your Retriever’s success at the hunt test. Keep repeating the same process every time to enable your dog to grasp the whole process. Remember that your dog is not doing something alien to its nature. If you keep practising your dog and remain consistent with the method, your dog will certainly learn all the essential skills for marking.
However, do not go haywire with the training methods. Set realistic goals and be clear about your expectations from your dog. Try to strengthen their foundational skills and then aim for higher aims. Do not forget to keep their mannerisms in line with your expectations and commands. Once you have considered all the precautions mentioned above and applied them effectively, no one can stop your Retriever from winning ribbons at the hunt test.
Table of Contents