Even though marking is a natural talent of Retrievers, steadiness is not. Yet, stability is one of the essential skills that your retriever must develop to pass a hunt test or field trial. If your retriever is a self- dependent dog and does not rely on your command during marking exercises, there are high chances that your retriever won’t win the ribbons during the hunt test.
Unfortunately, most dog owners dedicate their full attention to the marking training of their dogs. As a result, the behavioral aspect of their dog’s training gets severely neglected. Besides that, most people don’t know how to stop their dog from running for the retrieve. And how will they?
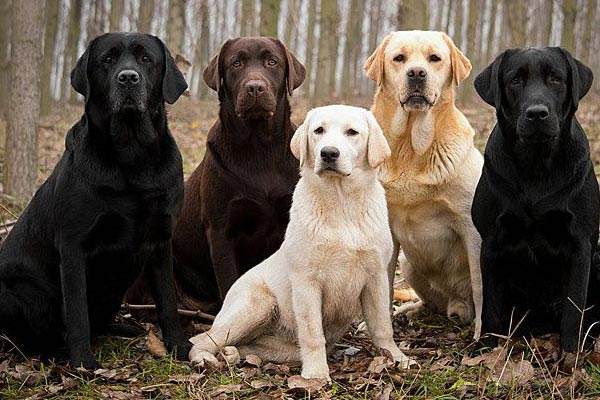
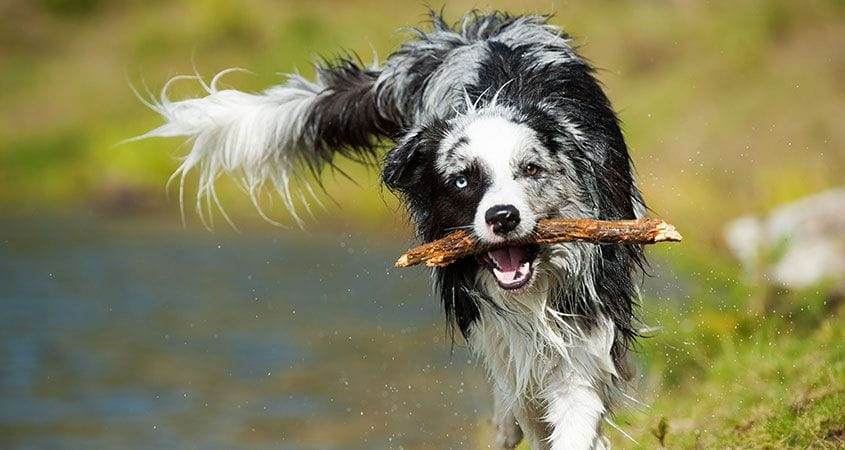
Retrieving is what defines the Retrievers. It is their second nature and is inherent in their blood and DNA. When they see a bird or a hunt falling, their genes tell them to retrieve that hunt without delay. Consequently, they become excited and go for the retrieve before their owners can stop them. And because their owners have no control over their instincts, they do not even try to stop them.
However, if you do not want your retriever to return home without the ribbons, you must learn the technique of controlling your dog’s instincts. A dog that crosses the line before it has been cleared is a dog meant to return home without passing the hunt test.
If you wish to teach your dog this unnatural skill called “steadiness,” pore over the whole article. We will discuss all the details related to Retriever steadiness drills. Consequently, you will have a calm and attentive Retriever ready for the hunt.
What does it mean to be a Steady Retriever?
Before you go through different steadiness drills’ technicalities, you must understand what it means to be a steady retriever and why steadiness is necessary. Otherwise, you won’t be able to set out the precise goals and objectives for your dog’s training.
Such a lack of clarity will lead you to set out unrealistic expectations from your dog, which will affect the overall training process. And you definitely don’t want that because steadiness is an essential skill for both participants and non-participants of hunt tests.
In fact, it is one of the fundamental skills you must teach your dog as a dog acting on its impulses can land up in dangerous situations. Once you become clear with the “What” and “Why” of Retriever Steadiness Drills, you will be able to visualize the exact goal you want your dog to achieve.
Meaning of Retriever Steadiness
As far as the American Kennel Club Hunt Tests are concerned, a dog can be defined as a steady retriever if it does not transgresses the starting line before the command for marking has been given. Accordingly, there are three points during the hunt test when your dog must remain steady. Otherwise, you have to return home without the ribbons.
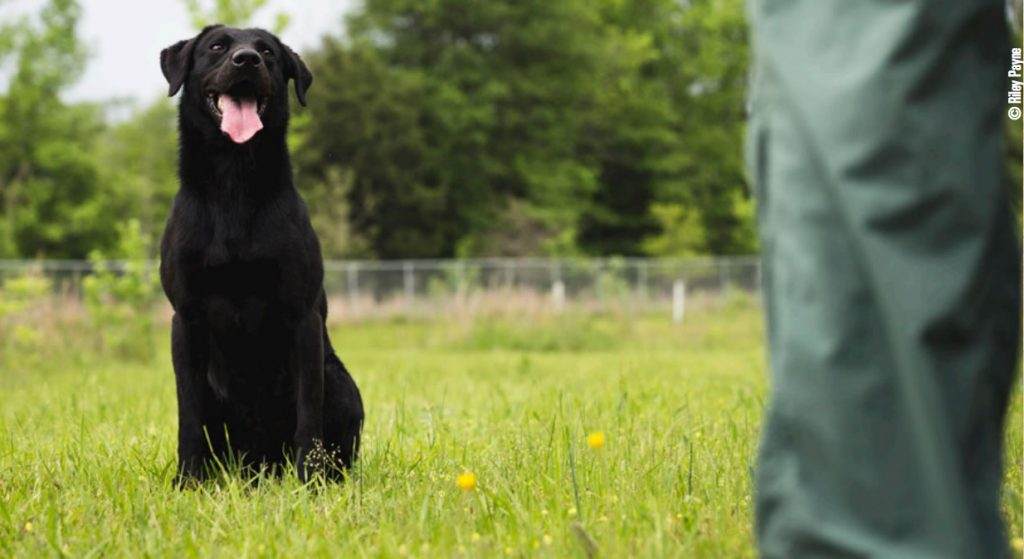
- At the Starting Point: This is the first stage of the hunt test when your retriever’s steadiness will be closely watched by the judges. When your dog’s turn for the retrieve comes, it must be ready and steady at the starting point unless you command it to go for the retrieve. Once the thrower has thrown the game, the judges will give you the cue to order your dog to retrieve it. During this whole waiting period of coming to the starting point and running for the retrieve, the judges will closely observe your retriever’s overall behavior. If your dog remains absolutely calm, then your dog will get full marks. If a slight restlessness is apparent from its behavior, its trainability marks will be deducted slightly. And if your dog crosses the line before you order it to retrieve, your dog will get no trainability points. Consequently, you will have to return home and enroll your retriever again for a new hunt test during weekends.
- Marking: It is one of the most important aspects of a retrieve. Without marking, a retriever won’t know where the hunt has fallen down and recover it before the hunted bird ultimately cripples. But “marking” requires a lot of focus and attention, which in turn requires steadiness. If your dog doesn’t remain calm and steady, it won’t be able to observe where the hunt has fallen down. Consequently, it won’t be able to retrieve the hunted fowl at one go and fail to get the ribbons.
- In the field: Steadiness at the ground is as crucial as steadiness at the line. In fact, if the latter is the starter, the former is the main course. If your dog doesn’t remain steady at the field, it won’t pass the test even after making a fantastic beginning.
The entire point of this steadiness drills is that your dog must not retrieve unless you command. The bird can be anywhere. It will hear birds’ sound, but it has to remain calm unless you order it to go for the mark.
Why is it essential to make your retriever steady?
In the previous section, we have already explained to you the importance of steadiness in hunt tests. However, the same principles are applicable in the field as well. You must be thinking it is all about controlling your dog’s impulses. But the reality is that it is about ensuring your dog’s safety. You will hear about many incidents in which a Retriever got shot just because it was too excited to retrieve the bird. To give a proper understanding of the entire scenario, here is an instance for you.
Suppose you and your retriever go out to the field for a hunt. Generally, what happens is that the flushed grouse or the pheasant leaps into the sky for a high flight. However, there can be some exceptional situations in which the bird goes for a low flight. As a result, your dog may be enticed to run after the low-flying bird’s alluring tail. As you pull the trigger to shoot the bird, your retriever leaps after the bird and then, snap! Your furry friend gets shot.
However, if you teach your retriever to remain calm and not to transgress the line before the command is given, you can avoid mishaps during such exceptional low-flight situations.
Even though such occasions are rare when a Retriever gets shot during the hunt, there can be other problems if you don’t teach your dog steadiness.
Suppose you and your dog are sitting at the blind waiting for a hunt. Suddenly, you see a flock descending towards your decoy and become excited to have your first hunt of the day. Now, if your dog is as attentive as you, then you must be mentally prepared for a major disappointment. Because your excited retriever will definitely jump towards your decoy, and the big flock you were aiming at will now fly towards the opposite direction.
Even if you do not engage your dog in hunt tests or take it for real hunts, you must teach your dog steadiness. A lack of stability in your dog can lead others to judge your ability to train a dog. And you obviously don’t want such embarrassing situations.
How to prevent your dog from Breaking?
Like all other aspects of dog training, you will have to apply the twin principles of constraint and repetition to prevent your dog from transgressing.
Before you go through the upcoming drills, you must remember that steadiness is concerned with obedience and not retrieving. In other words, you need to teach your dog this skill rather than enhancing it. To instill this skill in your retriever, you just need to keep restraining your dog and repeating the techniques of calming your dog.
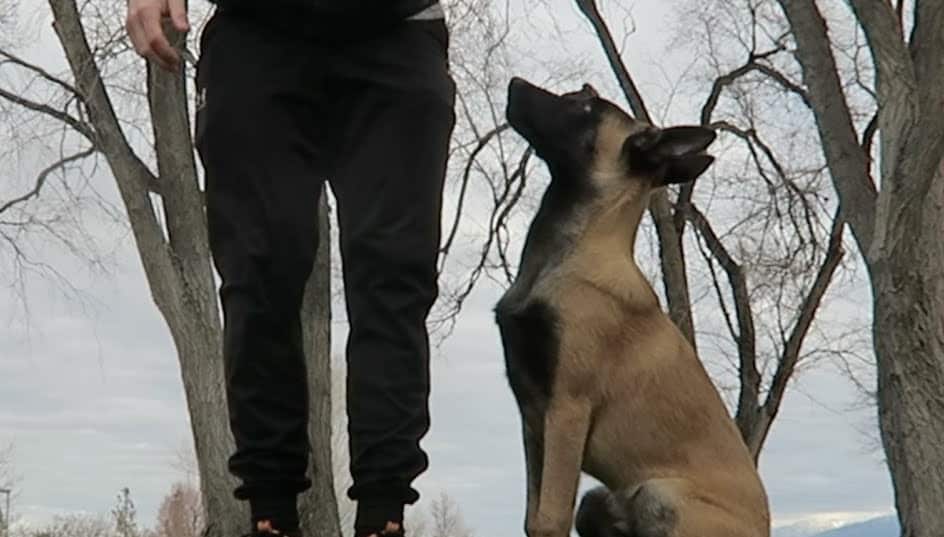
Now that you are familiar with the foundations of steadiness drills, you need to start teaching your dog the basic commands, namely “SIT,” “PLACE,” and “DOWN.” Once your dog is familiar with these commands, you don’t need to use any distinct training technique for your dog’s steadiness. Just use the two principles that you generally apply in your dog’s lining and marking drills – constraint and repetition.
However, the critical question is how the constraint or pressure needs to be administered on your dog. Here you need to take into account the seriousness of your retriever’s transgressing issue. If your dog is a severe transgressor, you surely need to buy an approximately 30 feet long leash. As your dog improves and becomes more dependent on your commands, try shorter leashes or e-collars.
Some other tools you will need to teach your dog steadiness include some decoys and a thrower, preferably a remote control thrower. As you apply the upcoming drills for your dog, you will find that your dog has become really calm and attentive. It will become more dependent on your commands and won’t get excited when someone says, “Take them.”
Critical Aspects of Retriever Steadiness Drills
There are primarily three exercises that you must include in your retriever’s steadiness drills. These factors will help you to prevent your retriever from transgressing.
- Delay
It involves making your dog wait for your command before it runs for the retrieve. The goal of this exercise is to make your dog dependent on your instructions. It must understand that it cannot jump for the retrieve whenever it wants. It must learn to be patient, and you will teach this skill to your dog.
You can start this practice from your dog’s puppy stage itself. Just look into its eyes and try to hold its attention as long as you want your dog to wait. Begin with fewer seconds and then extend the waiting period to a minute.
Do not be so uniform about the time limit. That is to say, do not stick to a particular time limit, say 30 seconds. Try to mix it up a bit. Start with 30 seconds, then 35 seconds, then 25 seconds, and so on. If you stick to a particular time limit, say 35 seconds, your retriever will start getting restless at 30 seconds.
The point is that your dog must depend on you to retrieve rather than its body clock.
- Denial
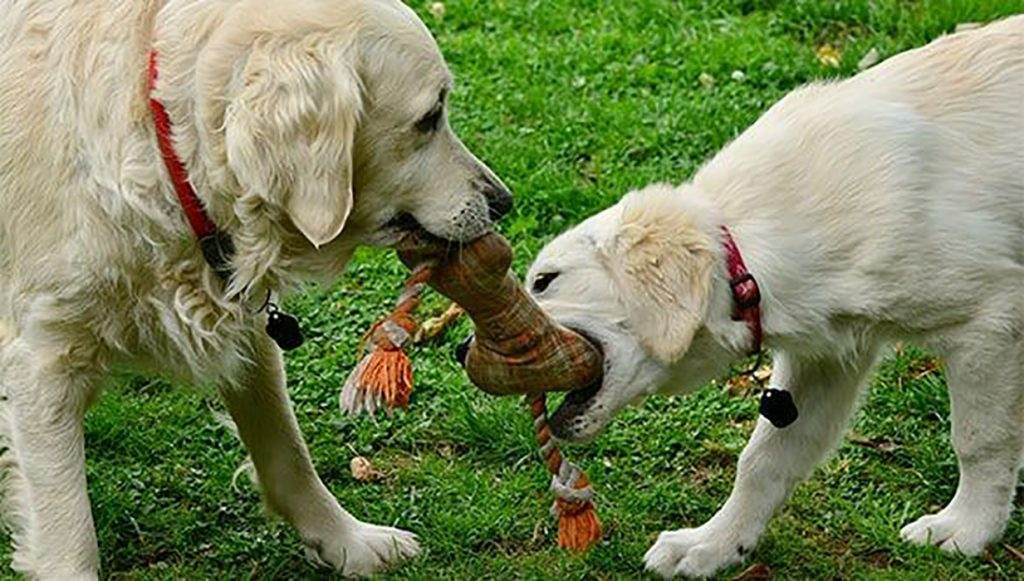
It involves teaching your dog that it cannot leap for retrieving every falling bird or bumper. There can be some missed birds or some birds that your partner’s dog may want to recover in a practical situation. Besides that, if your dog is running for a hunt test, it will have to wait and respect other dogs’ retrieve. Therefore, you need to use this denial exercise to make your dog understand that not all the birds or bumpers are for retrieving.
- Distractions
There is a considerable amount of difference between a real hunt and a training session. In actual shooting, there can be various kinds of sounds:,- Gunshots
- Duck calls
- Voices of other shooters- “Take them!”
Besides that, you have to wait for long hours before getting your first hunt for the day. All these sounds can trigger your dog’s retrieving instincts and make it lose focus. Therefore, if you wish to see your dog recovering each bird you have shot without getting distracted by the sounds, incorporate those diversions during your training sessions.
Stay Calm and Then Retrieve
Before you begin your dog’s steadiness drills, make sure that it is almost insane for retrieving. It is a logical truth that you can make a dog stable about something only when it is unstable. If your dog doesn’t have that much drive to retrieve, a steadiness drill can completely diminish that drive. And such a situation is definitely not desirable when you want to run your dog in the AKC Hunt Test.
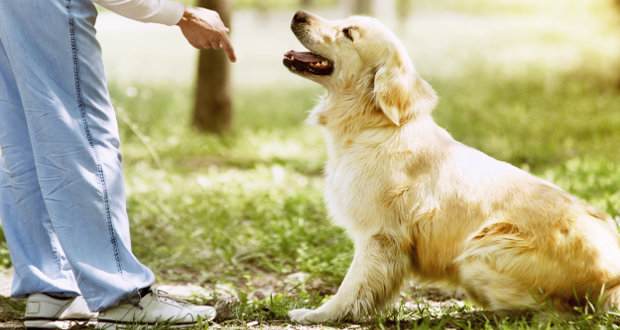
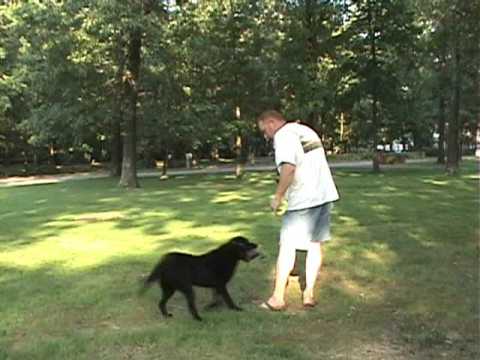
Once you are assured about your dog’s drive for retrieving, begin with a simple command called “SIT.” To teach the meaning of this command, you need to tie a leash of say 6 inches around your dog’s neck and make it sit by your side. Ask your friend to throw at least 10 bumpers, and watch your dog.
If your dog has an immense drive for retrieving, it will get excited and try to leap. But you have to keep holding on to its leash to prevent it from going after the bumpers. Your dog will definitely don’t like this and start whining. But you have to keep holding on to the leash and put some pressure if needed. Make your dog understand that it needs to stay still.
Once you are done with the 10 bumpers, ask your partner to pick them up and throw them one by one. Watch your dog’s body posture. If it remains calm and sits still, let it go for the mark. If it doesn’t, then ask your partner to pick the bumper himself.
As you keep repeating this process, your dog will understand that it has to sit still and be calm to retrieve.
Layout Blind Drill

The key obedience command for this drill is “DOWN.” This simple word will calm your dog down and make it sit still in your layout blind as you aim for a flock of birds.
To begin this drill, you need to carry three things with you.
- Treats
- Slip collar
- Leash
As far as your dog’s treats are concerned, you can choose anything, even your retriever’s kibble. Just make sure that your dog likes the food enough to do just anything to get some bits of it. You can do the initial part of this drill in your backyard itself and then shift to the field for practical experience. Once you have all the essential things with you, you are ready to start the training.
1. Procedure
Start the drill by holding your dog’s leash in one hand and some treats in your other hand.
Now, do the following activities at once:
- Put your foot on the leash’s middle portion to strain your dog from the downward direction.
- As your dog starts laying down, keep moving your foot closer to the leash’s upper part. It will increase the pressure on your dog’s neck and prevent it from getting up.
- Give the command “DOWN.”
- Keep your other hand carrying the treat on the ground.
- Put the treat on the ground as your dog lays down wholly.
Repeat this process to teach your dog the meaning of the command “DOWN.” Once your dog becomes familiar with this command, focus on making it stay still unless you release it.
To make your dog lay still for a more extended period, participate in the drill yourself. Lay down beside your dog with the leash under the backside of your body. If your dog tries to stand up, pull the leash a bit to restrain it. Once it understands the gesture and sits down, give it a treat. If it stays in the same position for a more extended period, let it have another treat. Accompany the dog treat with lots of verbal praise. Avoid petting your dog while praising it. Otherwise, it will develop a bad habit of searching for your hand, each time it makes an achievement.
Now, allow your dog to stand up and begin the same process all over again. This time make the waiting period a bit longer than the last one. As you keep repeating this process, your dog will eventually stay beside you as long as you want.
Once your dog becomes familiar with the rules of this exercise, shift to an e-collar. Add a nick each time it tries to break the commands of this exercise.
2. Training in the field
Teaching your dog in your backyard’s comfort is one thing, and going for a real hunt is another. If you want your dog to be steady in real hunting situations, you must take it out in the field.
As you train your dog in the field, make sure that you have several decoys, your blind, starter pistol, and a remote control thrower or a partner. Set up the layout blind according to your plan to hide your retriever. Position the decoys in such a way that the blind remains in the middle of those decoys.
Lie down on the blind and keep your dog beside you. Make sure that the leash goes under your back. Hold the leash tightly in your hand that is on the opposite side of your dog. Now ask your partner to throw the bumpers. You can also use a winger.
As your dog sees several bumpers falling on the ground, it will get excited. To make it more challenging, direct some of the throws towards yourself. Once your dog finds it too much to bear, it will try to break. But you need to keep holding its leash. Repeat this process unless your dog calms down and learns to remain still every time it sees a bumper.
3. Use the sound of Birds and Gunshots
This is the last part of this whole drill. You can also call it the “finishing touches.” However, it is as important as the other parts. It is because the distracting sounds of the real birds and gunshots can tease your dog’s senses and make it leap before time.
Therefore, if you wish to take your dog for a live hunt, make sure it becomes familiar with all the live situation diversions. For that, you need to use a blower to imitate the birds’ call. Once you have given several calls with the blower, make a blasting sound with the starter pistol. Your thrower should fling a bumper in the air as a symbol of a hunted bird.
Grip your dog’s leash firmly. Otherwise, it will jump for the retrieve. Start this process all over again unless your dog learns to keep calm. Once it gets familiar with the sounds and remains steady unless you command it to retrieve, gradually extend the waiting period.
4. Apply the Drill in Live Situation
Now that your dog has learned the meaning of concentration and steadiness, you can take it for live hunts. At the initial stage, allow your partners to handle the hunting part, and you focus on making your dog comfortable with the live situation. Apply the same methods and techniques that you used during the training sessions. Make sure that your dog doesn’t leap for the retrieve before you released it. If it does, do not allow it to retrieve. Your dog will understand that it must wait before it gets the reward of rescuing.
Place Drill
The layout blind drill can be applied only when you have another person as your partner. How will you train your dog if there’s no one other than you? Well, Place Drill is the answer to your question. With the help of this drill, you can teach your dog alone. All you need to do is make your dog understand the meaning of the command “PLACE.” You can start this training from the puppy stage itself. As your dog becomes accustomed to this command, start working on its concentration and patience.
1. Procedure
Use the “PLACE” command to make your dog go on to the platform. Once it reaches there, order “SIT” or “STAY.” As your dog follows your command, move one step back, and start moving around the platform. Keep holding your dog’s leash to make sure it remains still. If it tries to get up, pull the leash as a corrective gesture. Repeat this process unless you have finished a complete round of the platform without your dog moving an inch. At the end of one round, reward your dog with some treats.
As your dog grows more confident, start using an e-collar instead of a leash. However, do not move to the retrieving part yet as your dog can muddle up the meaning of your corrective tugs. It may start thinking that you are rectifying it for the retrieving technique and not for its disobedience.
2. Raising the Difficulty Level
Once your dog understands that it cannot leave the platform unless you permit it, proceed to the central part of this steadiness drill.
Command your dog to “SIT” or “STAY” on the platform. Now, swing the bumper in front of your dog to tease it. If it gets tempted and leaps for the bumper before you released it, pull the leash as a corrective gesture. Keep repeating this process unless your dog learns to concentrate on the bumper without jumping on it at least for 30 seconds. Once your dog achieves this milestone, give it a call and reward it with some treats.
As your dog becomes accustomed to this process and learns to wait until you release it, raise the difficulty level further. Instead of waving the bumper, start tossing it before your dog. If your retriever gets excited and jumps for the bumper, give a slight tug on its leash. Repeat this process until your dog understands that it has to wait for your command before running for the retrieve.
Once your dog grows more confident, shift to an e-collar to test your dog’s concentration and focus. If it becomes successful in staying attentive and going for the retrieve only after you release it, start increasing the bumper’s throwing distance.
Wait for the Command
Apart from the above two drills, you can also use other exercises to make your dog steady. In fact, you can work on your dog’s steadiness through the day to day practices as well. Here is an instance for teaching your dog steadiness through the day to day activities.
Suppose you and your dog come back to your home after a routine evening walk. As you start opening the door, your dog’s natural instincts will lead it to run into the house. However, you need to get a grip on your dog’s impulses. Otherwise, it can end up hurting itself.
To make your dog steady, use this particular exercise each time you enter your house. And by each time, we mean each time. Remember that consistency is the key. As you reach home, ask your dog to stay or sit and then open the door. After you have opened the door, watch your dog’s reactions. If it gets up and enters the home after you have released it, then it’s okay. However, if it breaks into the house or stands up before you commanded it, take it back to the door and start the whole process all over again. Keep repeating the procedure unless your dog understands that it cannot move from its position unless you have given it the signal.
You can use this exercise during your dog’s feeding sessions as well. In fact, you can use any kind of waiting exercise to make your dog focused, attentive, stable, and calm.
Conclusion
The most crucial point you need to keep in mind before introducing your dog into the world of steadiness drills is that you are dealing with a pure obedience issue. Therefore, your dog’s performance will depend entirely on your training methods. The more you are specific with your expectations, the better your dog will perform.
If you have thoroughly read the whole article, you must have understood that it is all about the foundations, the basic commands. Therefore, start your retriever’s steadiness drills from the puppy stage itself. The more your dog becomes accustomed to the obedience commands, the less you have to work on your dog’s steadiness during the retrieving sessions.
Table of Contents