There’s something about a handmade gift that outshines anything bought from a shelf. I still remember a collage my daughter taped together with mismatched papers and glitter; the way she beamed handing it over felt warmer than any store ribbon.
That messy, heartfelt energy is exactly what draws me to Handmade Mother’s Day Gift Crafts.
Over the years I’ve collected simple ideas that feel personal without being fussy. These Handmade Mother’s Day Gift Crafts range from tiny keepsakes that fit in a pocket to display pieces that bring a room to life, each carrying a little of the maker’s voice and scent of papier and paint.
Pressed flower resin coaster set for sunny mornings
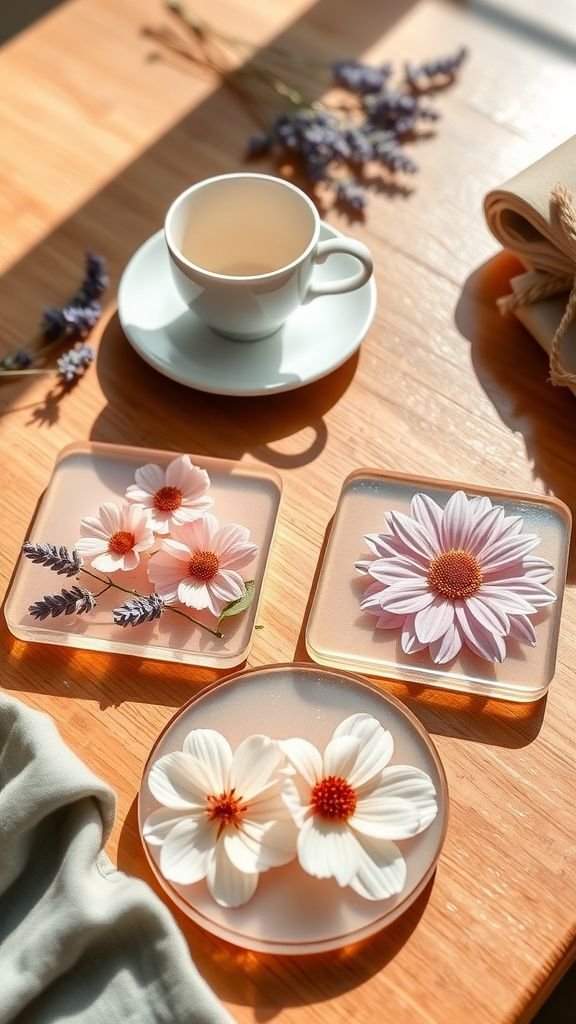
I keep a jar of pressed petals from backyard blooms and the coasters made with them have an honest, delicate charm. Each coaster carries little veins and faded color like a tiny photograph of a day in bloom.
When a cup warms the surface the petals seem to float beneath a glossy skin, and the edges catch light in a way that invites a closer look. I think of afternoon tea and the subtle scent of dried lavender, and how those small details make a kitchen table feel more like a memory.
Steps
- Lay cleaned, fully dried pressed flowers inside clear coaster molds arranged to your liking.
- Mix a clear resin according to its directions and pour a thin base layer to secure petals.
- Pour additional resin to fill the mold, removing bubbles with a torch or toothpick.
- Allow the resin to cure on a flat surface for the recommended time.
- Demold carefully and sand the edges smooth if needed for a professional finish.
Hand-painted ceramic vase with loose brushwork
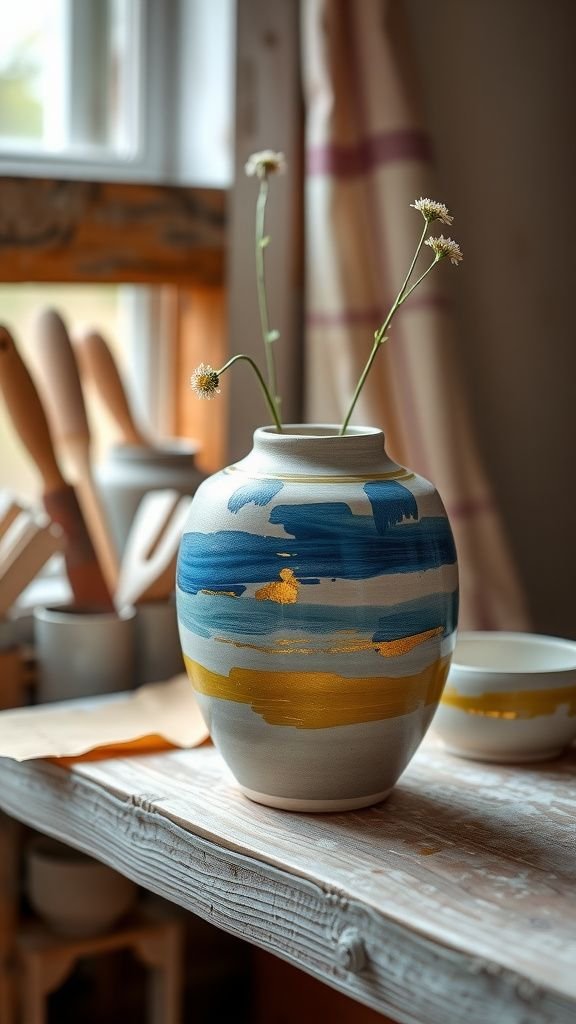
There’s freedom in a vase that doesn’t try to be perfect. My favorite one has broad, uneven strokes in blue and gold that catch the eye without shouting.
The glaze has tiny ripples where the brush met the clay, and I love how light slides across those ridges. When stems sit inside, the paint feels like a quiet dress for the flowers.
It’s the sort of object that invites someone to touch it, to trace a careless line and remember the afternoon spent picking colors and laughing over spilled paint.
Steps
- Choose a simple bisque vase and wipe it clean to remove dust.
- Apply underglaze or ceramic paint in broad, loose strokes, layering colors for depth.
- Allow the paint to dry, then add a clear glaze over the surface for shine.
- Fire the vase in a kiln according to glaze instructions to set the finish.
- Once cooled, arrange fresh or dried stems for display.
Personalized memory jar filled with notes and trinkets
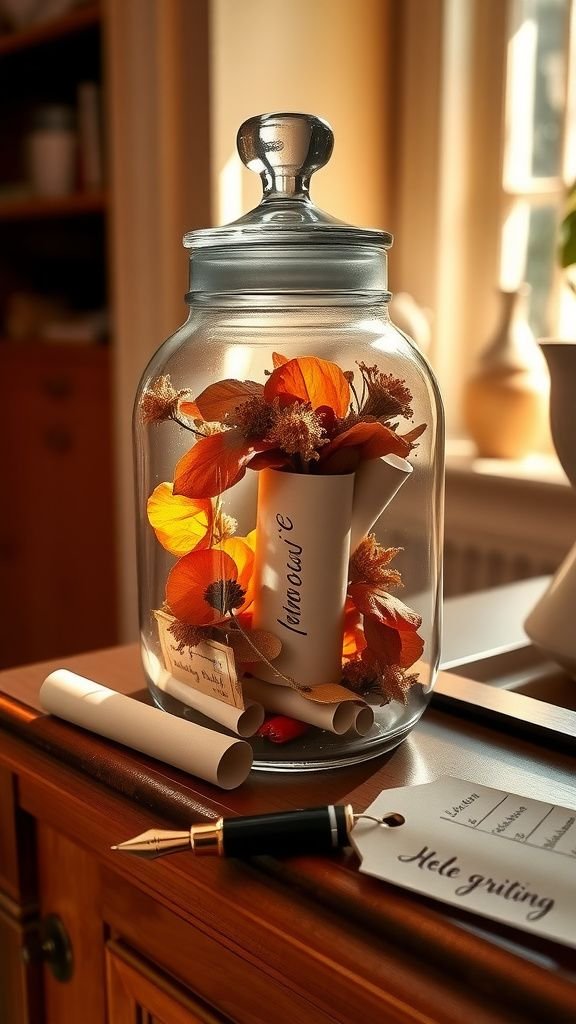
The memory jar sits on my mantle, a clear vessel that collects small things like tiny movie ticket stubs, folded paper notes and a dried petal or two. Each scrap brings back an instant: a joke, a quiet afternoon, a song that became ours.
The glass catches late light and turns those fragments into a little treasure chest. Opening it feels like looking through a slow-motion reel; sounds, smells and little gestures rush back in a soft, unexpected way.
It’s the kind of present that gets heavier with delightful weight over time.
Steps
- Select a clear jar with a wide mouth and clean it thoroughly before adding items.
- Write short handwritten notes, memories, or reasons for appreciation on small pieces of paper.
- Nestle notes together with tiny mementos like dried petals, ticket stubs, or charms.
- Seal the jar lid and decorate it with a ribbon, tag, or label describing the contents.
- Add to the jar over time to build a growing collection of memories.
Lavender sachets with tiny embroidered names
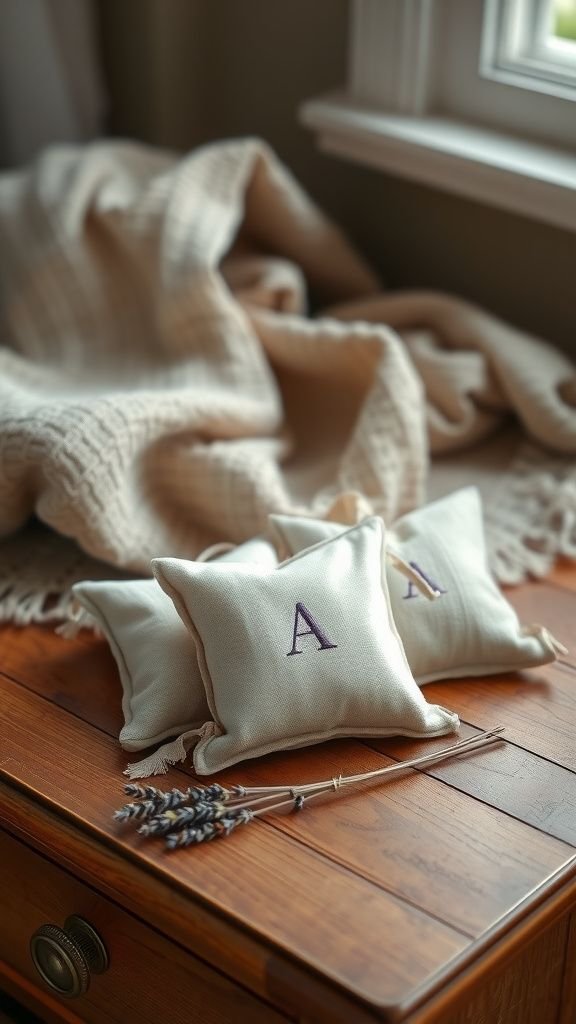
A small sachet tucked in a drawer releases a quiet, herbal hush when opened. The fabric feels soft under the fingertips and the tiny stitched letters of a name lend it an intimate touch.
I like the slightly rustic scent of dried lavender and the faint papery rustle as the sachet is moved. It’s one of those things that seems modest but keeps returning those small moments: the scent, the fabric against linen, the memory of sitting with needle and thread late into the evening while a song hummed in the background.
Steps
- Cut fabric into small rectangle panels and fold them right sides together.
- Sew around the edges, leaving a small opening for filling, then turn right side out.
- Fill the sachet with dried lavender and a bit of stuffing for form.
- Hand-sew the opening closed and add a small embroidered name or motif on the front.
- Trim threads and press gently for a finished look.
Handwritten family recipe book bound with love
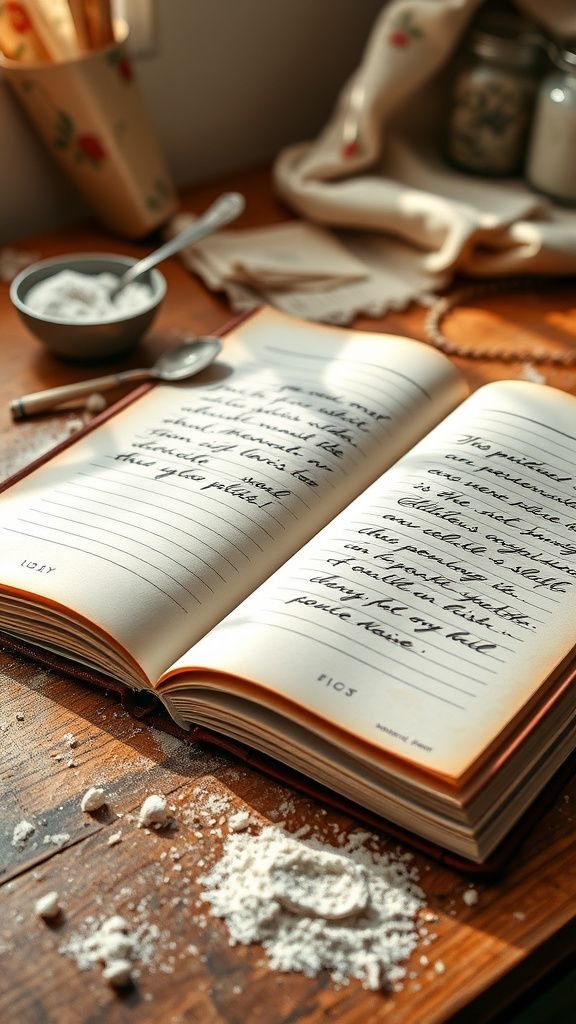
There’s a warm honesty in handwriting that photos can’t match. The recipe book in my kitchen holds smudges, little margin notes and a coffee ring from the first test batch.
Flipping through it reveals the cadence of family dinners, the way a measurement became a memory, and how a note like ‘grandma’s touch’ sits above a sauce. The pages smell faintly of flour and butter, and the cover is soft from years of use.
It feels less like a tool and more like a map of shared Sunday afternoons and tastes that trace generations.
Steps
- Gather favorite family recipes written or typed onto sheets and organize them by category.
- Choose a cover and binding method such as ring binding or stitched binding for a handmade feel.
- Arrange pages inside the cover, adding handwritten notes, photos, and small illustrations.
- Secure the binding and add a title label or embossed name to the cover.
- Store in a safe place in the kitchen where it can be referenced and added to over time.
Citrus sugar scrub in a jar that smells like sunshine
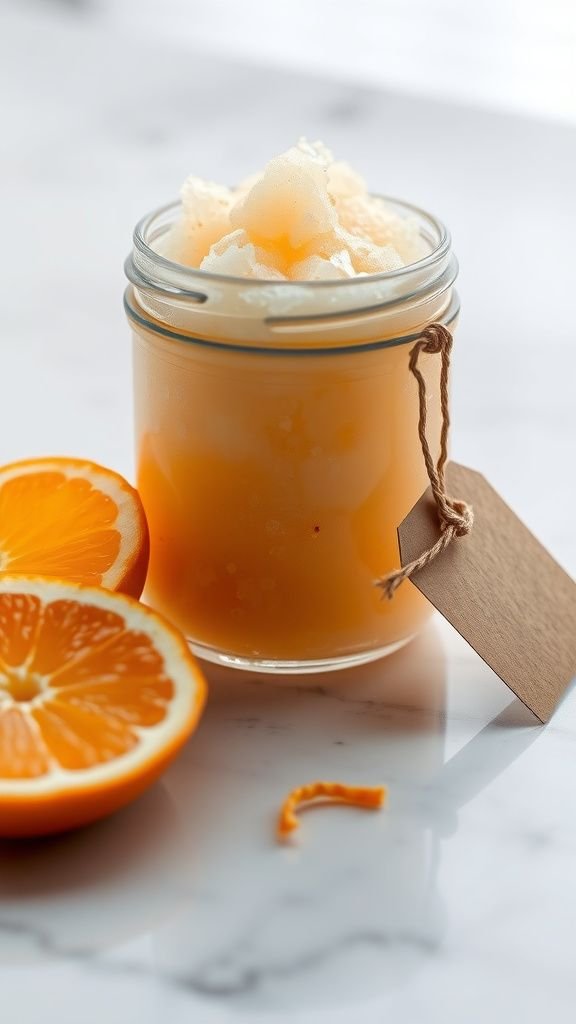
The first scent that hits is bright and almost electric, like a sunlit walk through an orchard. The scrub has a grainy, creamy feel and the jar lid holds a residue of citrus oil that tinges the air when opened.
I remember scooping a fingerful and marveling at how the sugar seems to polish skin while the scent lingers. A ribbon around the neck and a tiny tag with a handwritten note make the jar feel like a small ceremony rather than a product.
It’s a sensory little gift that reads as both indulgent and honest.
Steps
- Combine fine sugar with a carrier oil in a bowl until a paste-like texture forms.
- Mix in a few drops of citrus essential oil and optional zest for fragrance.
- Spoon the scrub into sterilized jars, tapping to remove air pockets and level the surface.
- Seal jars and decorate lids with fabric circles or labels.
- Store in a cool, dry place and label with a handwritten date.
Beaded ribbon bookmark with a sentimental charm
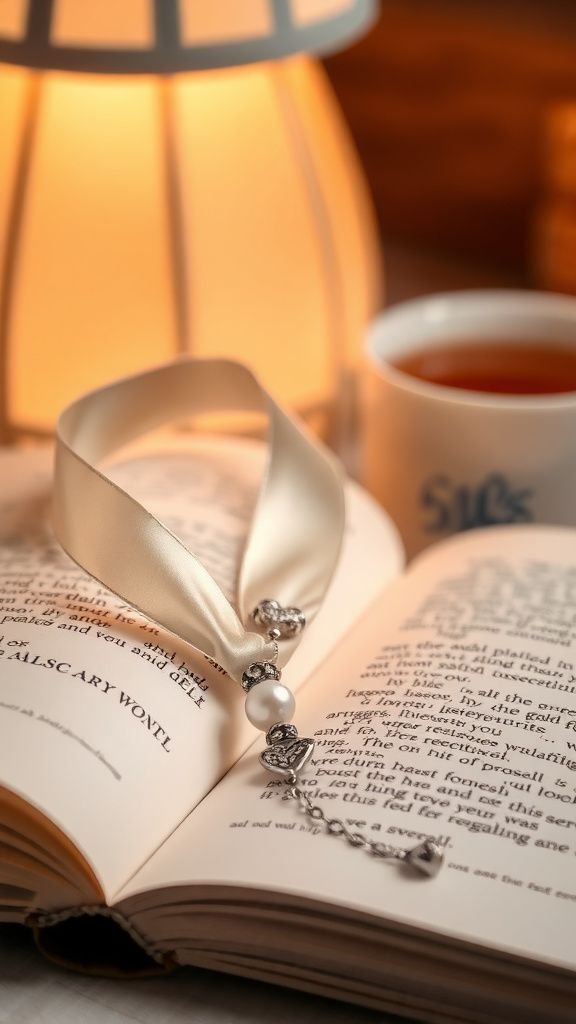
A bookmark slides between pages like a gentle pause. The ribbon feels soft and worn after a few uses, and the beads catch the light in tiny flashes.
I enjoy the little weight at the end—a charm that clinks softly when the book is lifted. There’s something intimate about slipping it into a novel and knowing it will wait patiently.
It’s less about extravagance and more about the small ritual of returning to a story, and how a handmade object can make a quiet habit feel cherished.
Steps
- Select a length of ribbon appropriate for the book and secure beads at one end using beading thread.
- Add a small metallic or ceramic charm as a focal point and knot the thread to hold beads in place.
- Seal knots with a dab of clear adhesive or thread wrap for longevity.
- Trim excess ribbon neatly and add a decorative end or a small tassel.
- Gift-wrap or slip the bookmark into a favorite book for presentation.
Customized wooden jewelry dish with marbled glaze
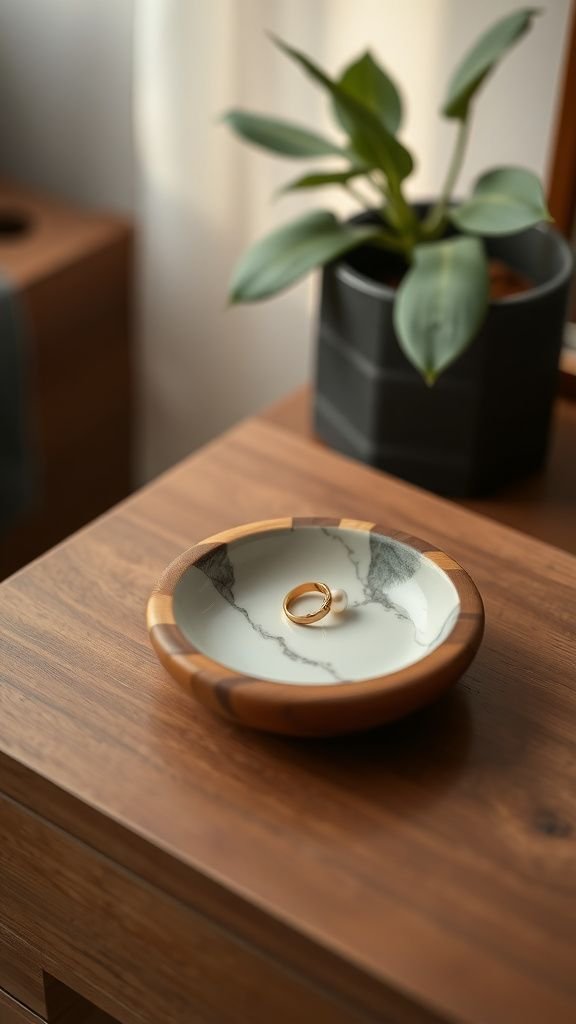
A small dish holds the small things that otherwise wander off. The wooden base has warmth under a cool marbled glaze that plays with swirls of cream and muted teal.
I often find a ring or single earring sitting in it like a tiny island. The mix of wood grain and glazed surface is pleasing under fingertips, and the dish’s shallow curve seems designed for casual use.
It sits by a bedside lamp and catches late light, turning ordinary metal into a quiet little collection of keepsakes.
Steps
- Sand and clean a small wooden dish to create a smooth base surface ready for finishing.
- Apply a thin layer of sealant or primer to protect the wood from moisture.
- Create a marbled glaze effect with diluted acrylics or ceramic glazes, pouring and swirling colors.
- Allow the glaze to dry or fire the piece if using ceramic glazes, then add a topcoat to seal.
- Buff the edges for a polished look and place jewelry inside for use.
Mixed-media photo collage on a textured canvas
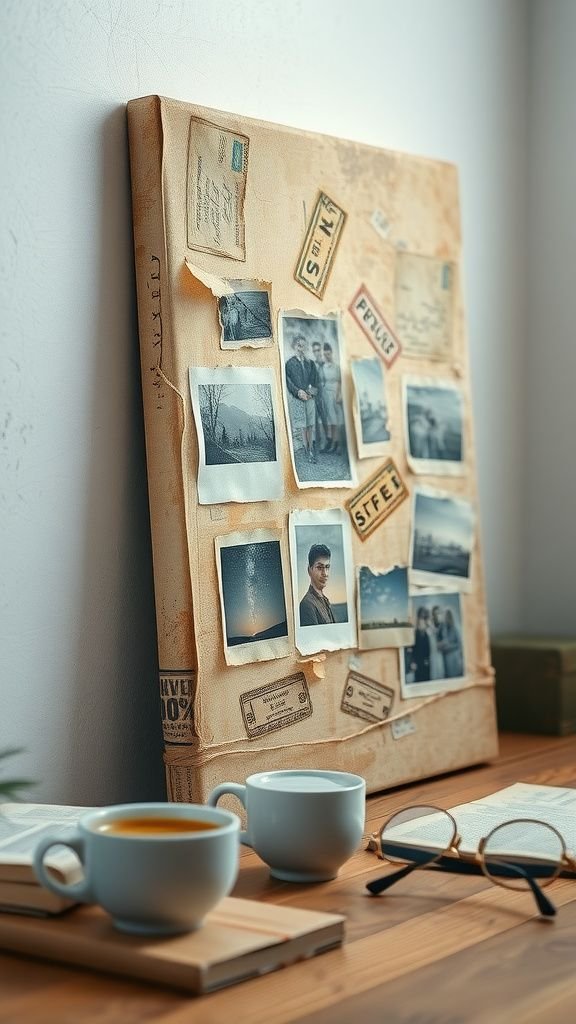
Collage feels like a conversation between pieces of paper, film, and tiny kept things. The canvas I made has layered photographs, torn ticket stubs and a wash of paint that pulls everything together.
Textures catch light differently so one corner looks matte while another glows. When I run a hand over it, there’s a subtle lift where tape and pasted edges meet paint.
The finished piece hangs near the hallway and people pause, reading faces and notes as if tracing small seconds of everyday life. It’s a quiet gallery of memory on the wall.
Steps
- Gather photographs, ephemera, and textured papers to arrange on a primed canvas surface.
- Adhere pieces with archival glue, layering edges and overlapping elements for depth.
- Add washes of acrylic or watercolor to unify tones and create visual cohesion.
- Seal the collage with a matte or satin varnish to protect the surface.
- Hang the canvas in a favored spot where it can be seen and appreciated daily.
Macramé plant hanger with a cozy neutral palette
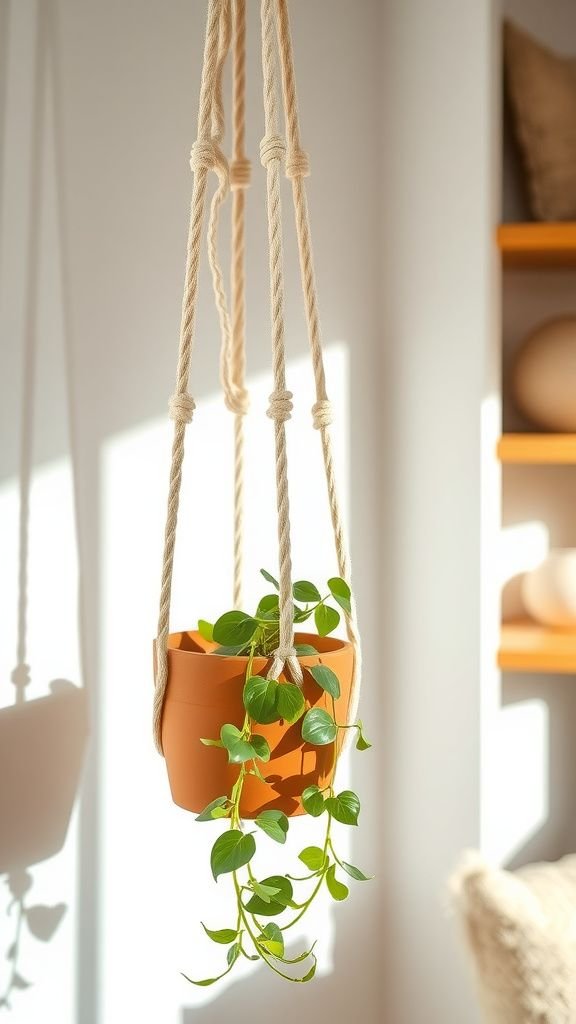
The macramé hanger swings gently in my kitchen window and casts soft patterned shadows on the wall. The cotton cords feel substantial and slightly fuzzy at the touch, and the knots form an almost meditative rhythm when viewed up close.
The plant sits cradled like in a hammock, leaves spilling over edges. The neutral tones match a calm corner, while the plant brings a bright, living contrast.
I enjoy the quiet, repetitive motion the cords suggest, like a small, handmade punctuation in a busy room.
Steps
- Cut lengths of cotton cord and gather them together at a central point for the top loop.
- Tie a series of square knots to form the hanger’s body and create pockets for the pot.
- Divide cords to form decorative knot panels and adjust spacing for balance.
- Secure the bottom with a gathering knot and trim ends for neat tassels.
- Place a potted plant into the cradle and hang near a window for light.
Tea-light candle trio with pressed petals
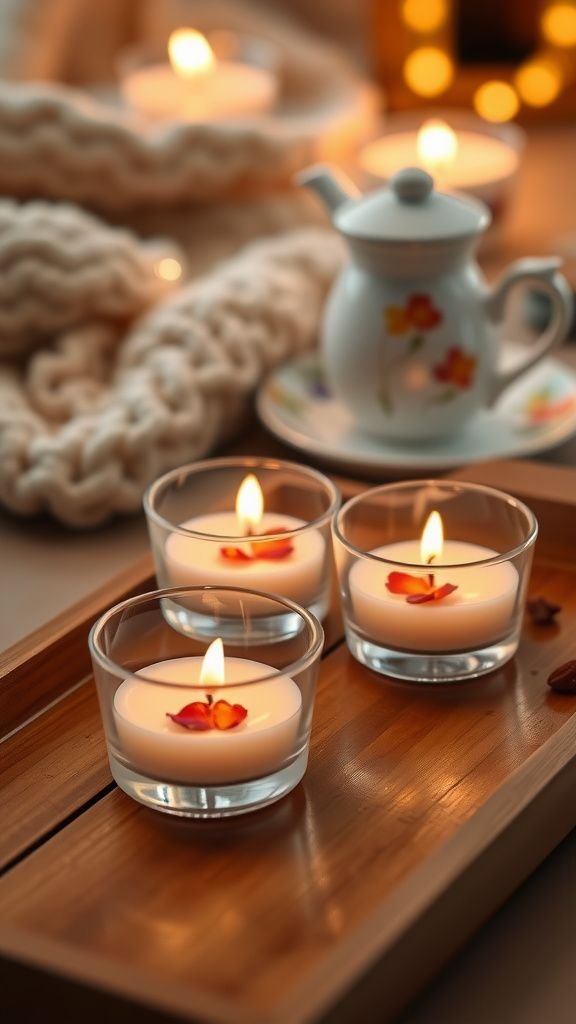
The small glow from tea-lights feels intimate in a slow, soft way. These candles hold tiny pressed petals at their centers, peeking through warm wax like the first page of a pressed book.
When lit, the flame shifts shadows across the petals and the room seems to lean in. The scent can be delicate, a faint whisper of dried florals or subtle citrus, and the tiny glass holders warm under a hand.
I think of quiet evenings and the tiny ritual of lighting a candle as a way to pause.
Steps
- Melt soy or beeswax in a double boiler and prepare small glass tea-light containers.
- Position a centered wick and place dried pressed petals gently around it inside each container.
- Pour melted wax slowly to encase petals without shifting them, leaving a small top layer.
- Allow the candles to cool and trim the wicks to a safe length.
- Test burn one candle briefly to ensure an even melt pool before gifting.
Hand-stamped spoon set with family initials
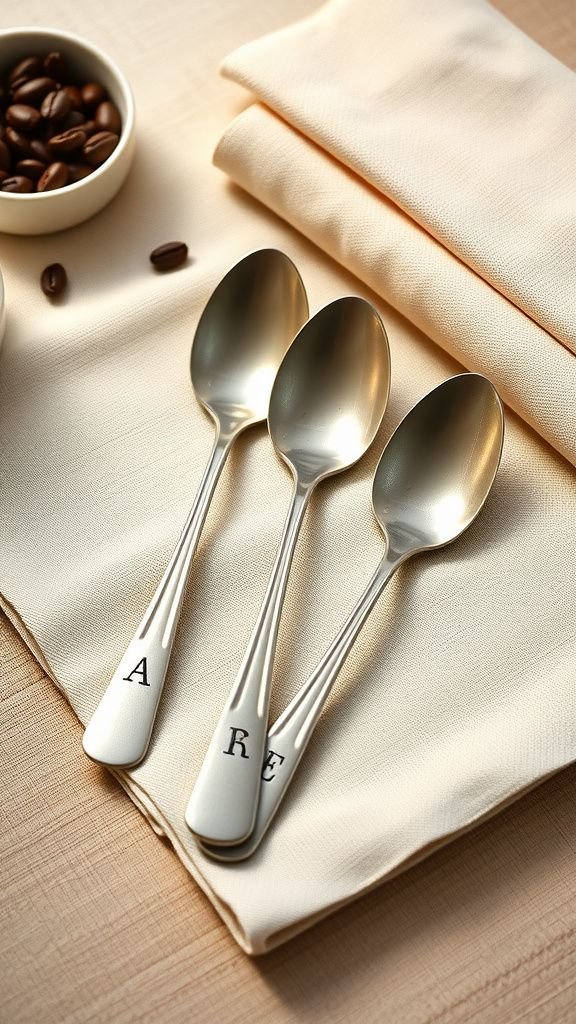
Metal holds weight and memory in a different way. The spoons in my drawer show tiny stamped initials along the handle, slightly uneven in a charming, human rhythm.
When the light catches them the indentations make little shadows that feel like secret handwriting. I imagine a breakfast table where each spoon is recognized and claimed with a smile.
Their cool touch in the palm contrasts with the warmth of coffee, and the imperfections are like handwriting—an obvious trace of the person who made them rather than a machine.
Steps
- Choose a set of metal spoons with smooth handles and clean them before stamping.
- Position metal letter stamps and strike firmly with a mallet to imprint initials.
- If desired, deepen impressions with a darkened metal-safe patina or food-safe paint.
- Clean and polish the spoons to remove any residue and smooth rough edges.
- Present the set nestled in a cloth or small box for storage.
Felt heart garland for mantel and tiny celebrations
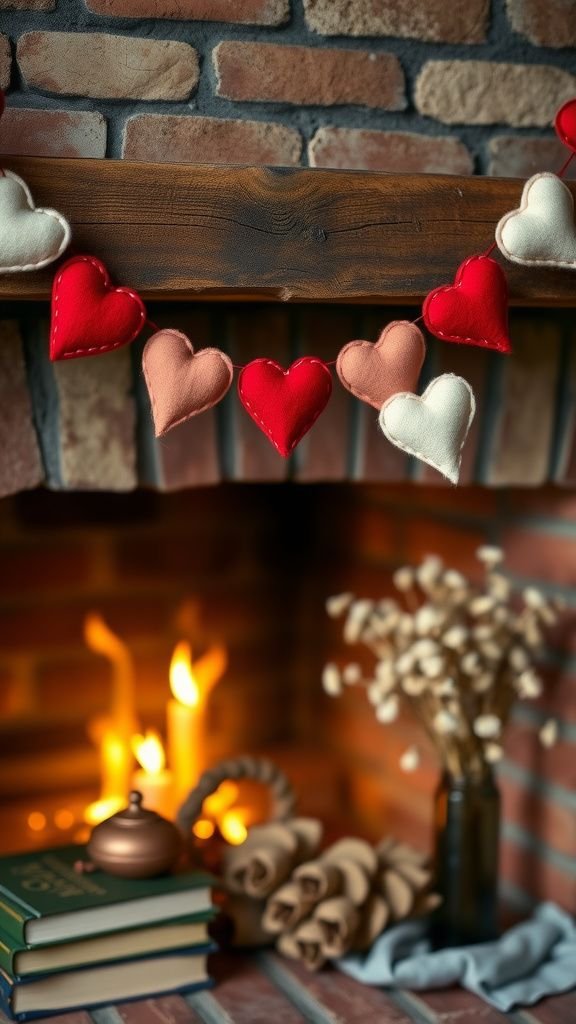
The garland drapes easily across the mantel like a string of small pulses. Each felt heart is slightly different—some plump, some flatter—with seams that show where fingers worked slowly.
The felt has a comforting matte soft nap that invites touch, and the muted reds and pinks feel gentle rather than loud. I imagine it hanging through a season, gathering a bit of dust and a bit of history.
It’s simple but warm; a way to mark something without fanfare, a handmade punctuation across the room that returns a smile each time it’s seen.
Steps
- Cut felt hearts from chosen colors and layer two pieces for each heart for thickness.
- Stitch around the edges of each heart leaving a small opening, then turn and stuff lightly for dimension.
- Hand-stitch the opening closed and string hearts along a length of twine or ribbon spaced evenly.
- Secure hearts with small knots to hold their position along the garland.
- Drape the garland across a mantel, window, or wall for display.
Embroidered linen handkerchief with tiny florals
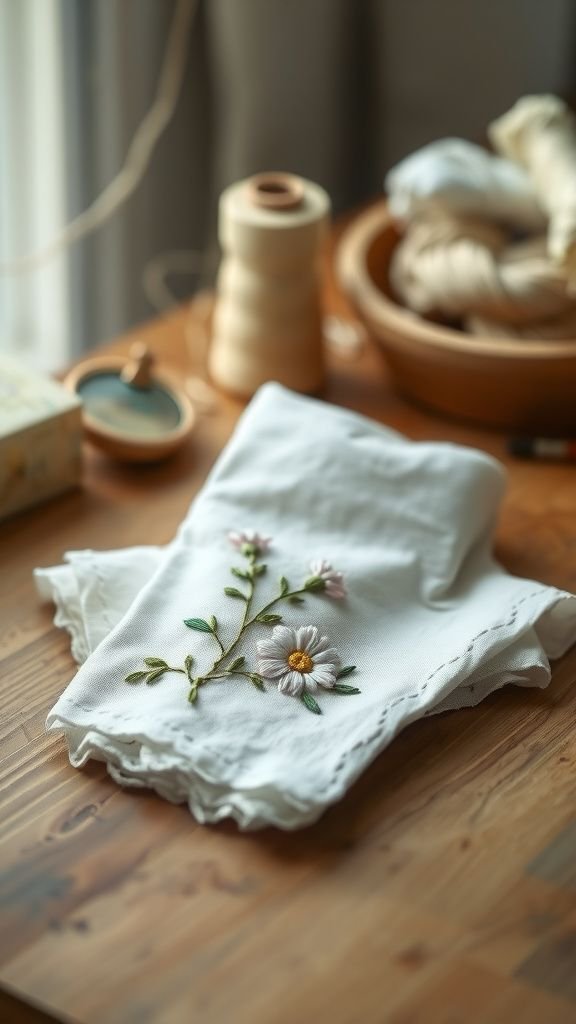
A linen handkerchief folds with a satisfying weight and reveals hand-stitched flowers along the edge. The threads have a slight sheen, and tiny french knots catch light like dew.
Carrying it feels intimate; the fabric cool against skin and the embroidered corner peeking out of a purse. I keep one in my bag and find small comfort in unfolding that neat square—little stitches stitched slowly in the evening, a song on the radio, and the steady motion of a needle through cloth.
It’s private, quiet and thoughtful.
Steps
- Choose a soft linen square and mark a small corner motif placement with light fabric pencil.
- Thread an embroidery needle and use basic stitches like backstitch, satin, and french knots to form floral details.
- When the design is complete, press the handkerchief gently with an iron on low heat.
- Trim any loose threads and finish the edges with a narrow hem if desired.
- Fold neatly and place in a gift box or envelope for gifting.
Upcycled sweater pillow with cozy worn-in charm
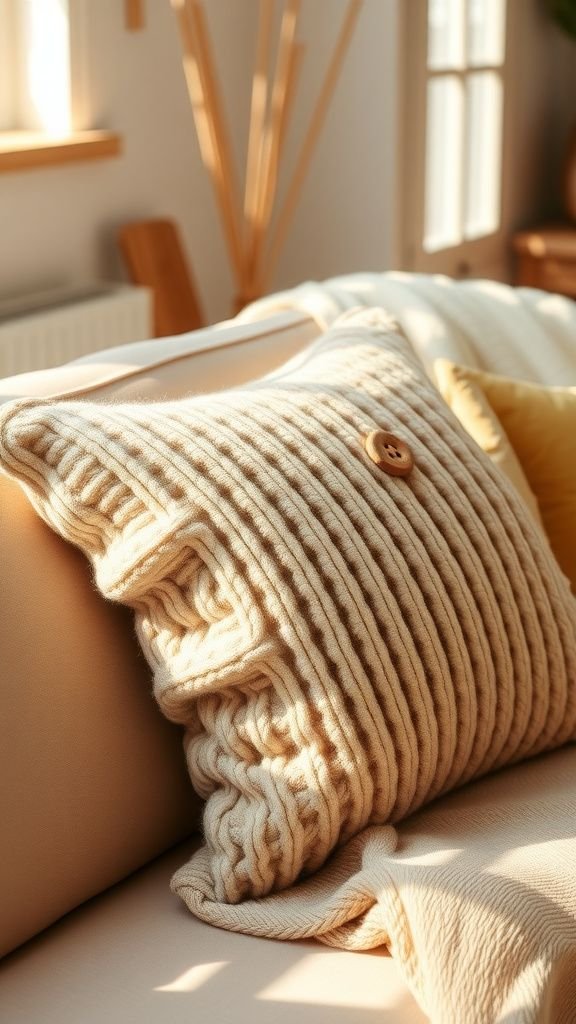
The pillow carries a sweater’s past life—pilled spots smoothed and the cuff’s ribbing turned into a playful edge. Sliding onto the couch it feels like a hug that knows you, warm and slightly aromatic with the memory of winter.
The knit texture softens the room and the mismatched buttons sewn on as accents add personality. I like how it reads the history of clothing while offering new comfort.
It’s the sort of object that invites curling up and a cup of something warm, without any fuss beyond its stitched seams.
Steps
- Select an old sweater and cut panels sized for the pillow, keeping interesting textures like cuffs or collars.
- Sew the panels together with right sides facing to form a pillow cover, leaving an opening for stuffing.
- Turn the cover right side out and insert a pillow form or stuffing to desired firmness.
- Hand-stitch the opening closed and add decorative buttons or patches if desired.
- Place the finished pillow on a couch or bed for a cozy accent.
Floral soy candle poured into a vintage teacup
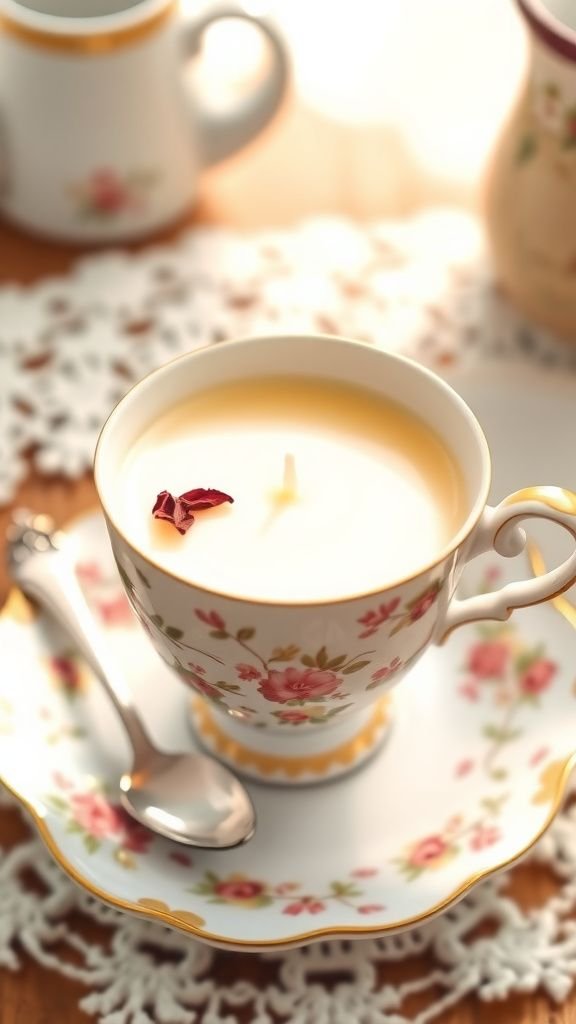
The teacup base gives a candle a soft, domestic poetry. The wick sits centered like a tiny lighthouse and the soy wax takes on a gentle ivory tone.
When lit the cup picks up the amber glow, and if petals or citrus peel are nested just beneath the surface they become tiny details that shimmer as the wax softens. The teacup itself carries a mismatched heirloom quality that makes the candle feel both new and familiar.
Lighting it is like inviting a small piece of afternoon into an evening.
Steps
- Clean and prepare a vintage teacup, ensuring it is heat-safe and free from cracks.
- Secure a wick in the center using a wick sticker and pre-warm the cup slightly.
- Melt soy wax and stir in chosen fragrance oils before pouring into the cup.
- Pour the wax slowly, allow it to set, and trim the wick to an appropriate length.
- Allow the candle to cure briefly before gifting and include usage notes if desired.
Memory map framed with threads connecting places
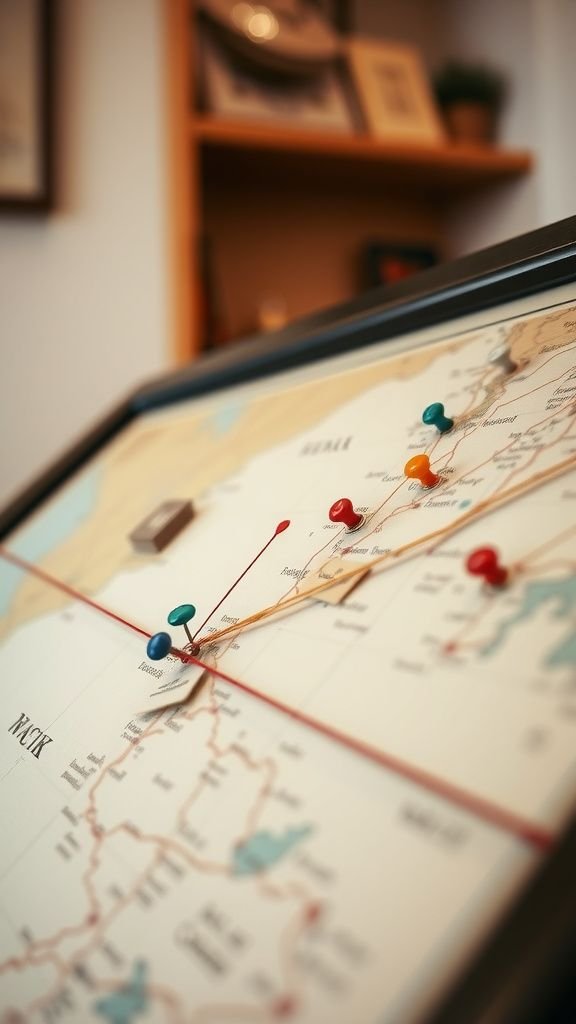
The memory map hooks locations with a thin colored thread, and the lines feel like stories stretched across geography. Each pin has a small handwritten tag noting a moment: a first trip, a move, a birthday spent near an unfamiliar skyline.
The frame looks like an atlas turned personal, the paper slightly textured and the threads catching light like thin veins. Standing in front of it is an invitation to linger and follow the routes our lives took.
It turns cartography into a gallery of private waypoints and shared routes.
Steps
- Choose a map showing meaningful locations and mount it on a backing board inside a frame.
- Mark each special place with a pin and attach colored thread from one pin to another to indicate connections.
- Add small handwritten tags or labels near pins describing each memory or date.
- Secure threads at the back of the board and ensure pins are flush for safety.
- Hang the framed map prominently for reflection and storytelling.
Painted terra cotta herb pots with hand-lettered labels
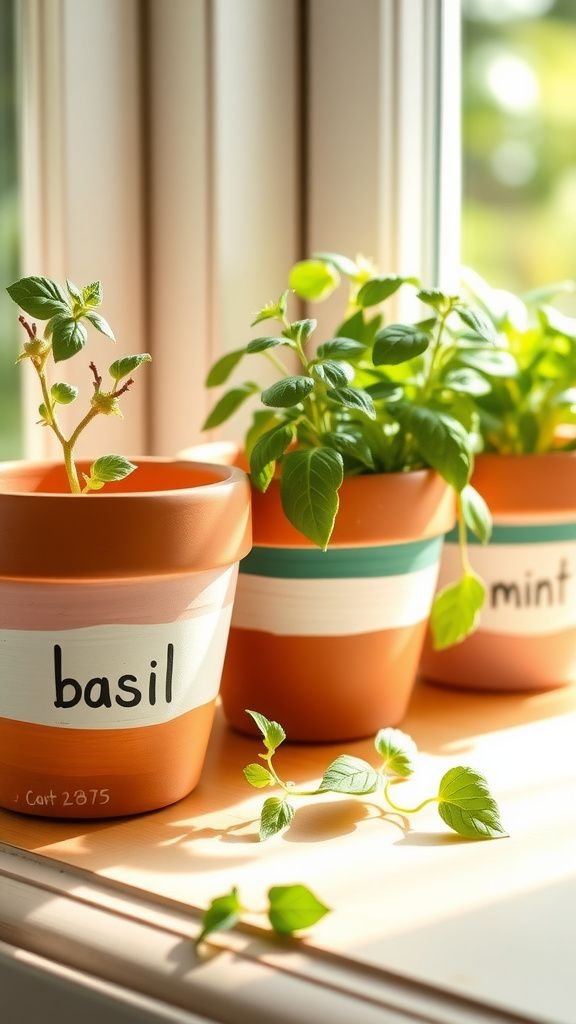
Tiny fingerprints show where each pot was handled during painting, and the matte terra cotta peeks through playful strokes. The pots bear hand-lettered names of herbs in a casual script that feels like a quick note to oneself.
When a plant is placed inside, the green leaves contrast against painted palettes and the scent of soil mingles with fresh herb aroma. They sit clustered on a sunny windowsill, each pot a miniature personality.
Tending them feels like daily conversation, a habit made gentle by the look and feel of those handmade labels.
Steps
- Clean terra cotta pots and apply a primer coat suitable for outdoor or indoor use.
- Paint pots with acrylic or outdoor paint in chosen colors and allow to dry between coats.
- Hand-letter herb names on the pot fronts with paint markers or small brushes.
- Seal with a clear varnish for durability if needed and fill with potting mix and herbs.
- Place on a sunny sill and water as appropriate for each herb type.
Watercolor floral greeting card set in a tied stack
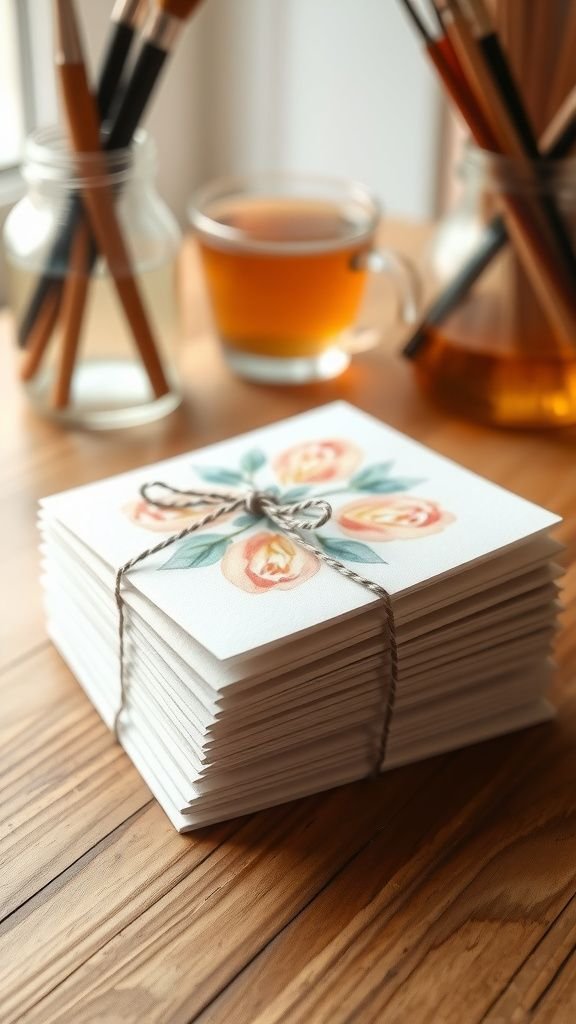
The cards feel like little paintings folded into envelopes. Each watercolor bloom has a wet-edge softness where pigment pooled and faded into paper, and the color transitions feel almost musical.
When I hold one up to light the paper shows subtle tooth and the paint’s depth. They nest together in a small stack tied with twine, and writing a short note on one restores a sense of slow craft.
Sending one becomes a tactile exchange—ink, paper, and human handwriting—rather than a line on a screen.
Steps
- Paint loose watercolor floral compositions on heavyweight paper and allow them to dry thoroughly.
- Fold the painted sheets into card shapes and trim edges cleanly for a neat finish.
- Create matching envelopes or use pre-made ones sized to fit the cards.
- Stack the set and tie with natural twine or ribbon, adding a simple label if desired.
- Write personal messages inside each card before sending or gifting the set.
Textured clay fingerprint pendant keepsake
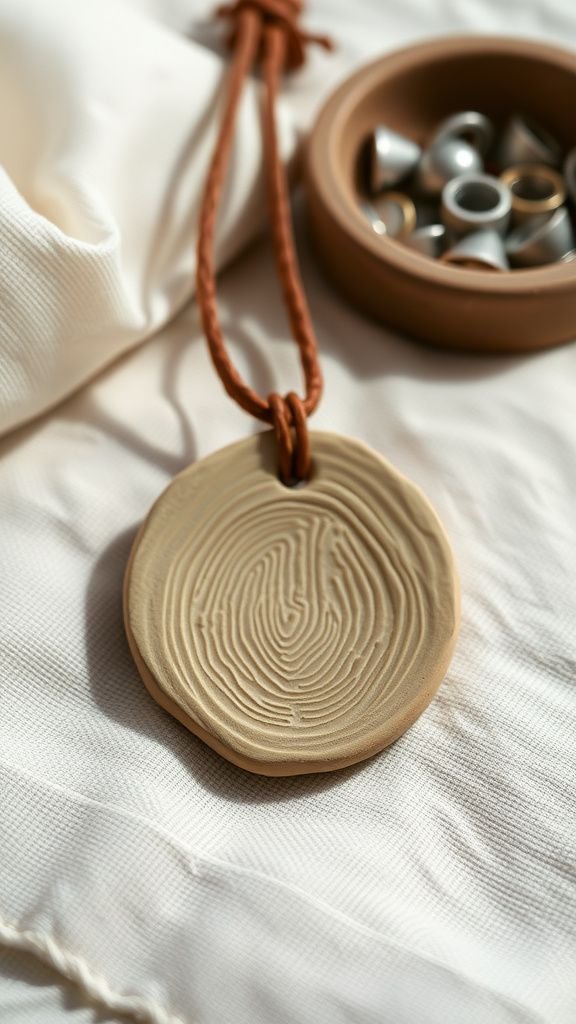
A tiny clay pendant holds a fingerprint like a thumbprint of time. The clay’s surface carries faint ridges in soft relief and its matte finish feels pleasant against skin.
When worn, it swings with a quiet motion and sometimes catches sunlight in a subtle way. I remember pressing a small finger into the clay and the miraculous permanence of that little looped line.
It feels like a whispered reminder of presence, a small human mark folded into jewelry that sits close to the heart and hums with everyday tenderness.
Steps
- Roll out a small piece of polymer or air-dry clay to an even thickness and cut a pendant shape.
- Press a fingerprint gently into the clay and create a small hole for a jump ring or cord.
- Bake or air-dry the clay according to material instructions until fully hardened.
- Attach a jump ring and string onto a chain or cord to create a necklace.
- Polish or patina the metal findings for a finished, wearable look.
Coupon booklet filled with thoughtful little favors
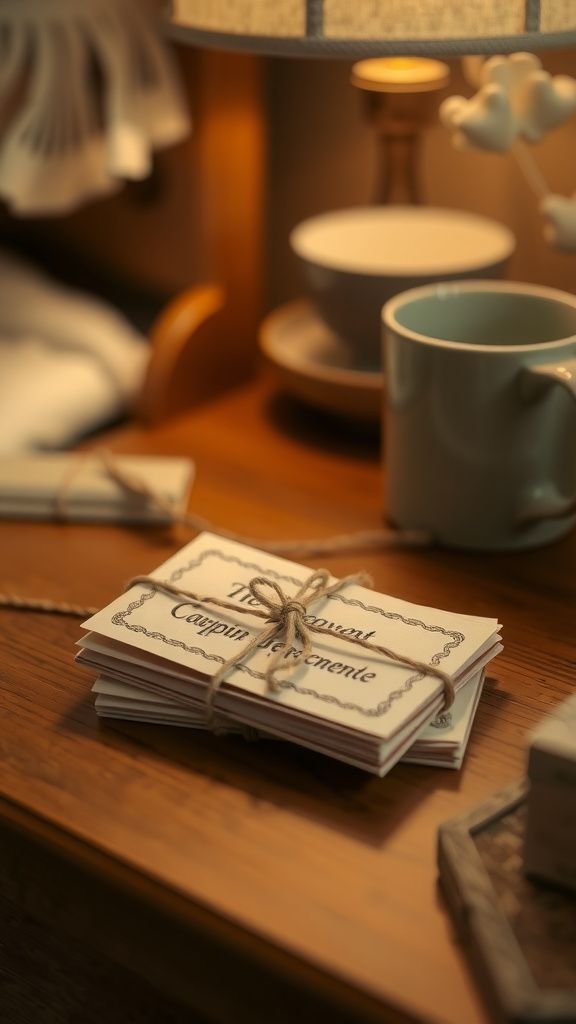
The little paper coupons feel almost mischievous in their promise: an evening of dish-free dinner, a morning walk together, a quiet hour of reading uninterrupted. Each slip is a small, tangible vow that can be redeemed and folded into routine.
The booklet sits on a bedside table and I watch it soften around the corners as a few coupons get used. There’s a warmth in offering time and attention as a gift; the tickets themselves are humble but heavy with intention, and handing one over often sparks a smile and a plan.
Steps
- Design a set of small coupon cards with headings for each favor and space for redemption details.
- Print or handwrite the coupons on sturdy paper and cut them into uniform slips.
- Stack the slips and bind them along one edge with staples or a small ribbon to form a booklet.
- Add a decorative cover and perhaps a small envelope to store unused coupons.
- Present the booklet with a brief note explaining how and when the coupons can be used.
Table of Contents