Beginner Friendly Updo Tutorials make getting dressed feel faster and more fun. These Beginner Friendly Updo Tutorials focus on easy twists, simple pins, and relaxed buns that look polished without hours of practice.
They work for casual brunches, office days, and date nights.
Each quick tutorial points out a few tools and tiny tricks so you can master a new look in minutes. The styles flatter round, oval, and long faces and suit fine, medium, or curly textures—so anyone can try a fresh updo without stress.
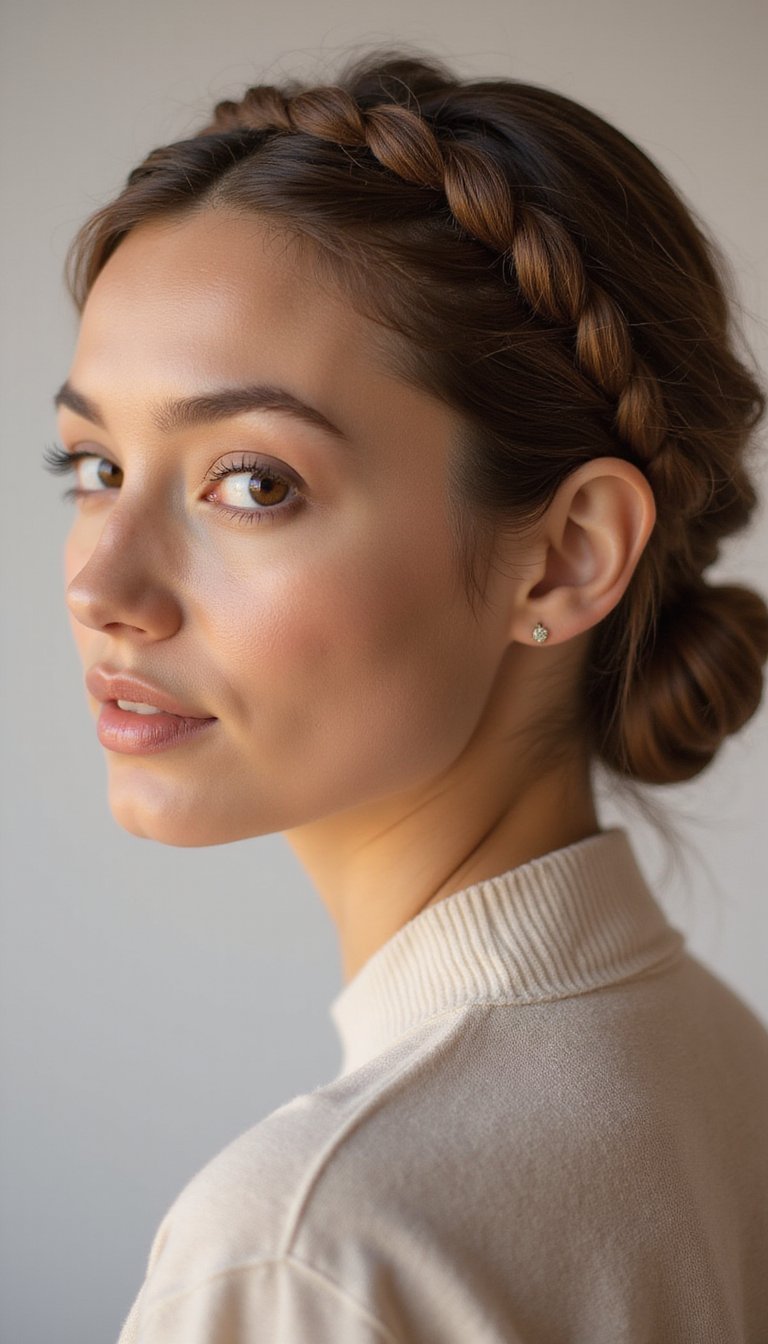
Easy Twisted Low Bun For Busy Mornings

This simple twisted low bun is a go-to from rushed mornings to relaxed evenings. Start with brushed hair, make two small twists on each side, bring them to the nape, and secure with a soft elastic and bobby pins. The finish is neat but slightly undone for a modern, approachable vibe. It flatters round and oval faces and works on straight to wavy hair. Practicing a couple times will make this one of your favorite Beginner Friendly Updo Tutorials for quick polish anytime.
Styling Tips
- Add a light texturizing spray for grip.
- Pull a few face-framing pieces for softness.
- Use long bobby pins to secure twists discreetly.
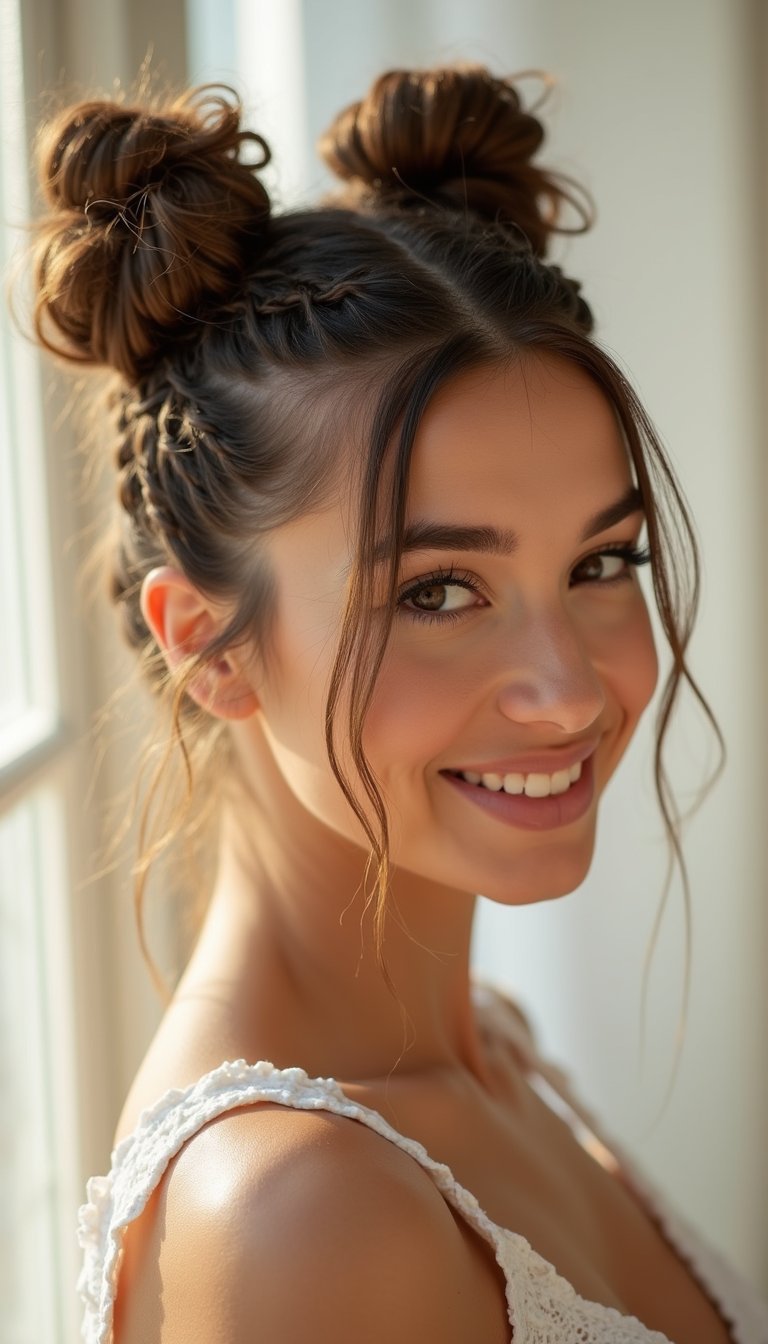
Messy High Bun With Face-Framing Pieces

This messy high bun is playfully imperfect and perfect for beginners. Gather hair into a high pony, tease slightly, then wrap hair around the base leaving a few strands loose. Tug gently to loosen the bun and pull out face-framing pieces. The end result reads casual-chic and works for thick or fine hair by adjusting teasing and pins. This is one of those Beginner Friendly Updo Tutorials that gives instant height and personality without fuss, ideal for weekends or casual meetups.
Styling Tips
- Use a dry shampoo at roots for extra hold.
- Secure with an elastic then hide it with wrapped hair.
- Use a light-hold hairspray to keep flyaways soft.
Classic Sock Bun For Sleek Weekend Looks
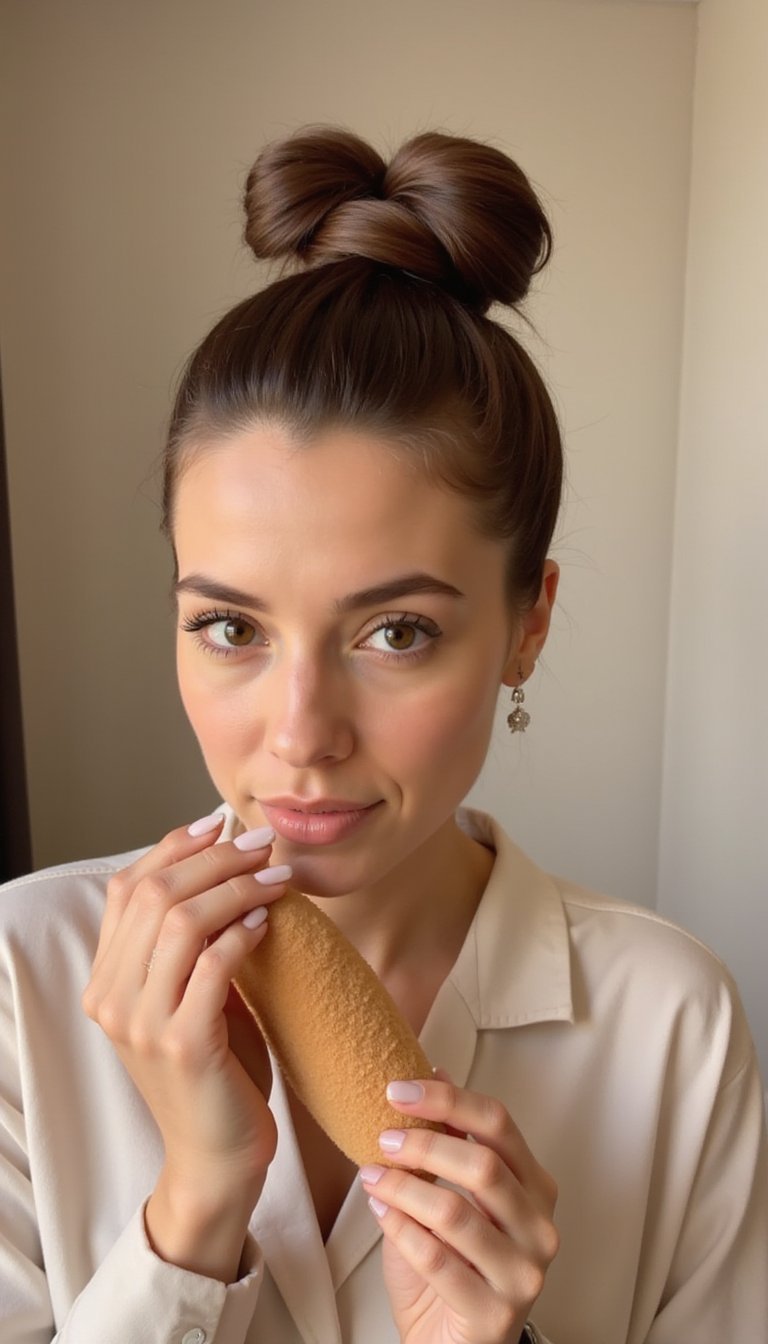
The classic sock bun gives a smooth, rounded shape that reads polished yet simple. Use a donut sponge or a rolled sock to form the base: pull a high or mid pony through, slide the donut on, spread hair around it, then pin sections neatly. This works beautifully on medium to long hair and flatters elongated face shapes. In these Beginner Friendly Updo Tutorials, the sock bun shows how a few tools can create salon-looking results at home in minutes without complex braiding.
Styling Tips
- Smooth with a light serum for shine.
- Tuck ends neatly and pin them out of sight.
- Wrap a thin ribbon or scarf for added flair.
Simple Braided Crown For Romantic Vibes
This braided crown feels romantic but stays easy for beginners. Create two loose braids starting near each ear, lift and wrap them across the top of the head, pinning ends into place to form a crown. Pull gently on braid loops for fullness and let wisps fall by the face. This style flatters heart and oval faces and suits medium to long wavy or textured hair. Try this Beginner Friendly Updo Tutorials version for weddings, outdoor photos, or when you want a soft, feminine finish.
Styling Tips
- Prep with a bit of texturizing spray for hold.
- Secure with hidden bobby pins under the braid.
- Add small flowers or clips for a romantic touch.
Half-Up Top Knot For Everyday Chic
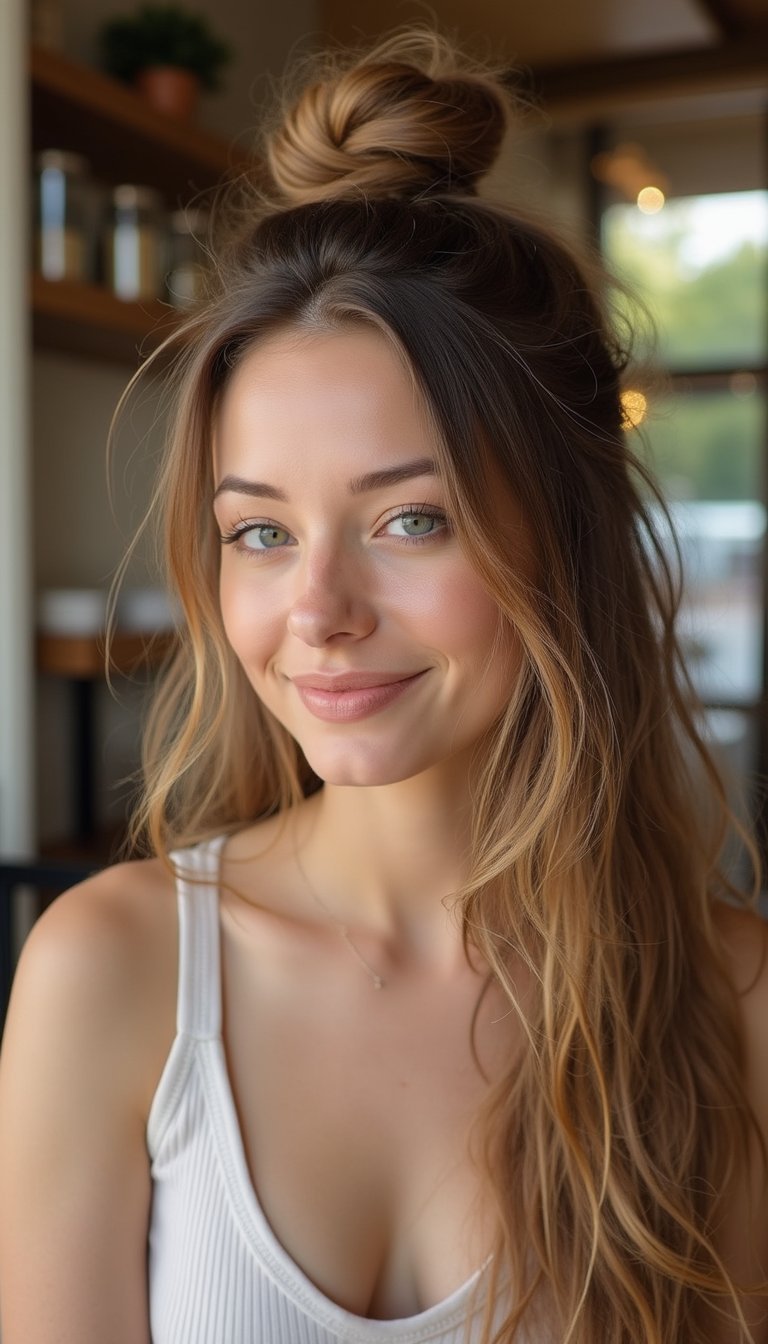
The half-up top knot blends easy comfort with style. Take the top section of hair and create a small bun at the crown, leaving the rest flowing. This balances volume and movement, flattering round and oval faces and working on most textures. It’s a friendly pick for beginners looking to add polish while keeping hair down. This Beginner Friendly Updo Tutorials pick is perfect for school runs, coffee dates, or low-key evenings when you want a cute, fuss-free look.
Styling Tips
- Backcomb the crown section lightly for lift.
- Secure with a small elastic and pins for neatness.
- Use a satin scrunchie to prevent dents in hair.
Low Knot With Twisted Side Sections

A low knot with twisted sides gives a refined look with minimal effort. Twist small sections from each temple toward the back, gather hair into a low knot at the nape, and pin. The twists add detail without complex braids, making this an ideal Beginner Friendly Updo Tutorials style for formal or casual settings. It suits straight to wavy hair and flatters square and oval faces. Adjust tightness for a cleaner or softer result; either way it reads elegant and approachable.
Styling Tips
- Spritz a light hairspray on twists for hold.
- Use pins that match your hair color for an invisible finish.
- Loosen the knot a touch for a softer silhouette.
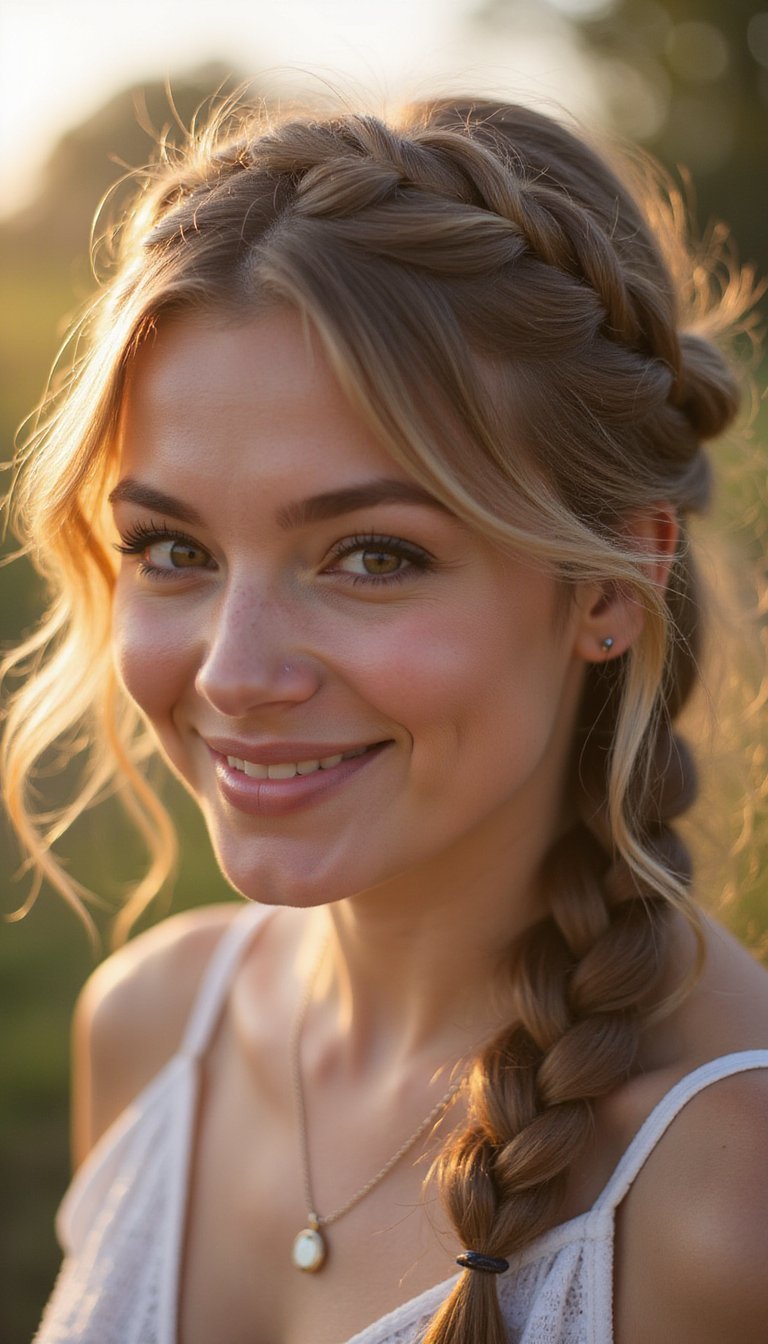
Dutch Braid Into Bun For Secure Hold

This Dutch braid into bun keeps hair tidy and stays put all day. Start a Dutch braid at the hairline, continue down and finish into a low or mid bun. Pull the braid slightly for volume, then tuck and pin the end. It works well for thick or layered hair and flatters longer face shapes. As part of Beginner Friendly Updo Tutorials, this look teaches an easy reverse-braid technique that adds structure and texture without needing advanced skills—great for active days or polished meetings.
Styling Tips
- Tighten the Dutch braid at the start for durability.
- Secure the bun with strong pins for all-day wear.
- Add a small elastic before braiding to anchor the style.
Fishtail Side Braid Rolled Into Bun

The fishtail side braid rolled into a bun looks intricate without complex steps. Begin with a loose fishtail braid over one shoulder, then roll it into a small side bun and pin. Loosening the braid slightly creates volume and a soft finish. This Beginner Friendly Updo Tutorials option is flattering for long hair and wavy textures, adding a boho-chic touch to casual and dressy outfits alike. Try it when you want an eye-catching updo that feels handmade rather than stiff.
Styling Tips
- Loosen the fishtail sections for a fuller look.
- Hide pins under the rolled braid for a clean finish.
- Use a shine spray to keep texture lively.
Quick Ballerina Bun For Polished Style
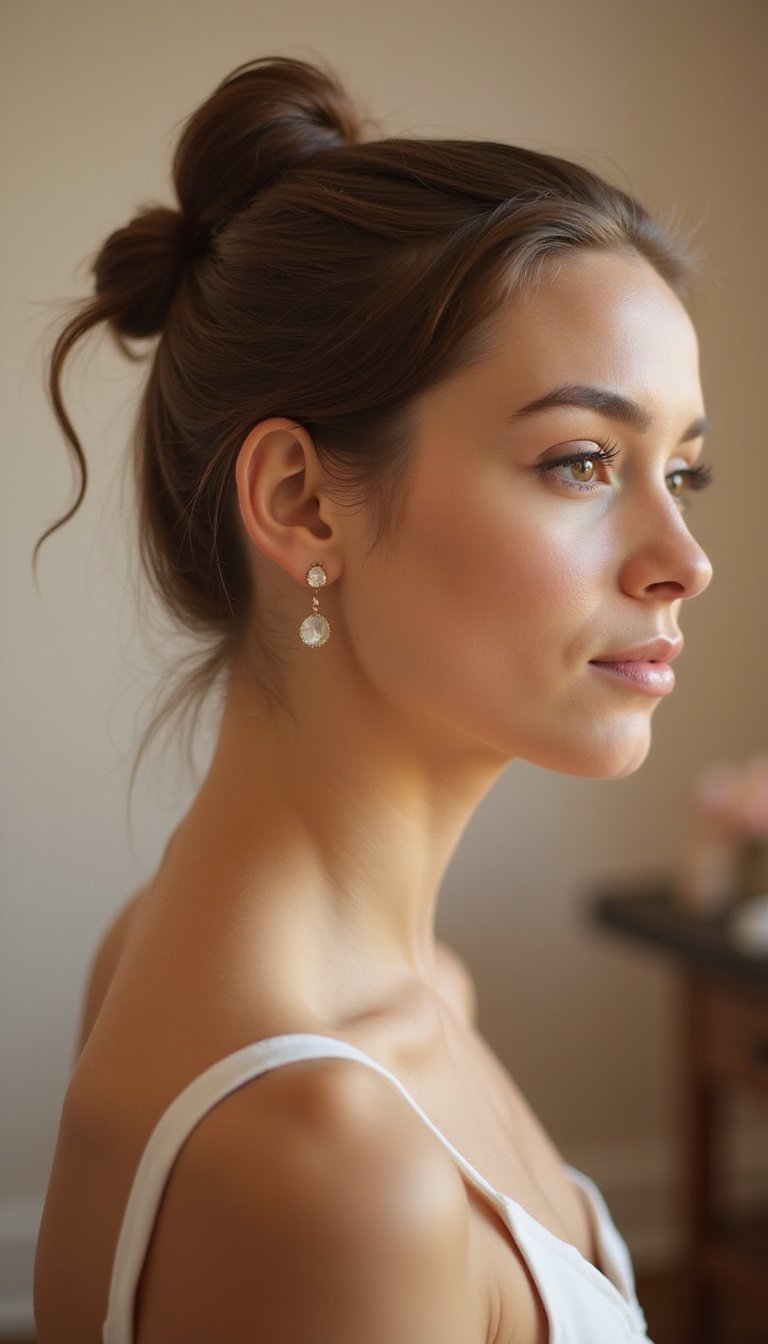
The quick ballerina bun delivers a neat, classic silhouette in minutes. Pull hair into a high pony, smooth it, then twist and coil tightly around the base, pinning securely. This clean updo suits sleek or slightly textured hair and flatters longer necklines and oval faces. In Beginner Friendly Updo Tutorials, this version focuses on speed and a tidy finish, making it perfect for presentations, dinners, or days when you want a refined look without extra fuss.
Styling Tips
- Use a fine-tooth comb with smoothing serum for a sleek finish.
- Secure with lots of invisible pins for durability.
- Finish with a soft-hold hairspray to tame flyaways.
Loose Chignon With Soft Textured Waves

This loose chignon with soft waves reads relaxed and refined at once. Start with gentle waves, gather hair low at the nape, twist loosely into a chignon, and pin while letting textured strands escape. The result is romantic and works for medium to long hair types, flattering round and heart-shaped faces. It’s a friendly pick in Beginner Friendly Updo Tutorials when you want movement and elegance together—great for date nights or outdoor gatherings where a softer silhouette feels right.
Styling Tips
- Create waves with a large-barrel iron for loose texture.
- Pin in sections to control shape without stiffness.
- Add a pearl pin or clip for extra charm.
Knotted Halo Updo With Floral Pin

A knotted halo updo wraps hair around the head with a charming knotted detail and a floral pin for interest. Create two loose sections, tie them into a soft knot near the crown, then wrap and pin ends around to form a halo. This look flatters medium to long hair and gives a whimsical feel that’s easy to achieve for beginners. This Beginner Friendly Updo Tutorials choice is perfect for casual weddings, garden parties, or when you want a feminine crown without complex braiding.
Styling Tips
- Loosen the knot gently for a soft, natural finish.
- Choose a small floral pin to tuck into the knot.
- Use flexible pins to avoid pulling at the scalp.
Bubble Pony Converted Into A Chic Bun

The bubble pony converted into a chic bun adds playful texture with simple steps. Create a ponytail, add several elastic bands spaced down the length to form bubbles, then roll the ponytail into a bun and pin. This works grand on long hair and adds visual interest without complicated skill. In Beginner Friendly Updo Tutorials, this hybrid style gives a trendy twist on basic techniques—perfect for concerts, fun outings, or when you want a youthful look that stands out.
Styling Tips
- Pancake each bubble for fuller shape.
- Secure the rolled ponytail with strong pins for hold.
- Finish with a light-hold spray to keep bubbles in place.
Rope Twist Low Bun For Medium Hair
The rope twist low bun is a neat, textured option for medium-length hair. Divide hair into two sections, twist each toward the center, wrap the pair into a low bun, and pin. The rope technique gives a clean spiral effect without complex braiding. This Beginner Friendly Updo Tutorials entry suits those with straight to slightly wavy hair and flatters square and oval faces. It’s a modern alternative to a chignon and can be dressed up or kept casual depending on pin choices.
Styling Tips
- Secure the twist with a small elastic before pinning.
- Loosen the twist slightly for volume if desired.
- Add a decorative pin to the side for elegance.
Vintage-Inspired Pinned Curl Updo For Events

This vintage-inspired pinned curl updo channels old-Hollywood charm with an easy modern spin. Curl hair in medium sections, pin each curl flat against the head in a composed layout, then smooth and set. It’s ideal for medium to long hair and flatters longer or oval face shapes. Within Beginner Friendly Updo Tutorials, the technique teaches how pinned curls create drama without complicated steps—perfect for formal gatherings, parties, or any event where a standout, glamorous look feels right.
Styling Tips
- Use a strong-setting spray to hold pinned curls.
- Pin curls while warm for better memory.
- Brush gently before removing pins for softer waves if desired.
Bandana Wrapped Low Bun For Effortless Flair

A bandana wrapped low bun mixes accessory play with simple pinning for an instant uplift. Gather hair into a low bun, then wrap a folded bandana or scarf around the bun base and tie neatly. This look suits short-to-long lengths depending on how the bandana is styled and flatters casual wardrobes and festival looks. In Beginner Friendly Updo Tutorials, this method shows how an accessory can make a minimalist bun feel intentional and stylish for errands, coffee dates, and relaxed hangouts.
Styling Tips
- Choose a lightweight scarf to avoid bulk.
- Wrap twice for a secure knot that won’t slip.
- Let a few wisps fall out for a relaxed vibe.
Side-Swept Twisted Bun For Asymmetrical Style

The side-swept twisted bun offers an elegant off-center look with minimal fuss. Sweep hair to one side, twist sections toward the back, then coil into a side bun and pin. The asymmetry creates interest and flatters round and heart-shaped faces by adding length on one side. This Beginner Friendly Updo Tutorials option is great for medium to long hair and pairs well with statement earrings. It’s an easy way to feel dressed up while keeping technique approachable for beginners.
Styling Tips
- Use pins on the underside of the bun to keep the silhouette clean.
- Loosen the twist slightly for a softer effect.
- Add a shining spray for a polished finish.
Mini Braided Buns For Playful Short Hair
Mini braided buns are friendly for shorter hair lengths and add playful charm. Create two small braids starting near the temples or hairline, wrap each braid into a mini bun, and secure with pins. This look works especially well on shoulder-length or slightly shorter hair and flatters youthful, rounded faces. As a Beginner Friendly Updo Tutorials idea, it encourages experimentation with small sections and accessories, giving a fresh, fun finish for concerts, weekends, or creative days when you want something cute and quick.
Styling Tips
- Use mini elastics for a tidy braid start.
- Pin buns close to the head for comfort.
- Add small clips or beads to play up the look.
Sleek High Pony Tucked Into A Bun
The sleek high pony tucked into a bun offers a refined, contemporary finish. Smooth hair into a high pony, wrap the tail under the base to form a tucked bun, and pin for a compact silhouette. This style works on straight and slightly wavy hair and flatters longer necklines and oval faces. In Beginner Friendly Updo Tutorials, this technique provides a professional-looking updo without complicated steps, perfect for workdays, dinners, or anytime you want a clean, modern look with minimal effort.
Styling Tips
- Use a fine-tooth comb and gel for a sleek finish.
- Anchor with a small elastic before tucking for security.
- Finish edges with a soft-hold gel to tame flyaways.
French Twist Made Easy With Bobby Pins

The French twist can be simplified for beginners by focusing on smooth sections and strong pinning. Gather hair to one side, tuck the ends under while rolling up, then secure with bobby pins along the seam. Pull lightly at the outer layer for softness. This look flatters medium to long hair and suits formal events and dinners. As part of Beginner Friendly Updo Tutorials, this version teaches controlled rolling and pin placement to achieve a classic, elegant updo without lengthy practice.
Styling Tips
- Smooth hair with a brush before rolling to avoid bumps.
- Pin in an X shape for extra hold.
- Add a decorative comb for a finished look.
Twisted Half-Up Crown With Soft Curls

The twisted half-up crown mixes simple twists and soft curls for a romantic finish. Curl the hair lightly, take two front sections, twist toward the back, and pin into a mini crown while leaving curls loose. This look flatters round and heart-shaped faces and suits medium to long hair. It’s a top pick among Beginner Friendly Updo Tutorials for parties or dates because it feels elegant without heavy technique, offering movement and a frame-friendly silhouette that complements most outfits.
Styling Tips
- Create loose curls for natural bounce.
- Use clear pins under twists to keep them hidden.
- Finish with a light mist to hold curls gently.
Textured Updo With Loose Face-Framing Braids

This textured updo with loose face-framing braids blends relaxed braids and soft volume for a lived-in look. Create two small braids near the face, pull the rest into a loose low bun, then pin and pull at sections for texture. Let the braids fall slightly to frame the face. The result flatters textured and curly hair wonderfully and gives a creative option in Beginner Friendly Updo Tutorials for brunches or creative work. It’s forgiving and looks intentionally undone.
Styling Tips
- Use a curl cream to define textured hair before styling.
- Tease the crown lightly for added volume.
- Secure braids with small elastics before pinning them back.
Table of Contents